Installation instructions
In your Tagada account click on Stores on the left side menu and then click on the Add Store button.
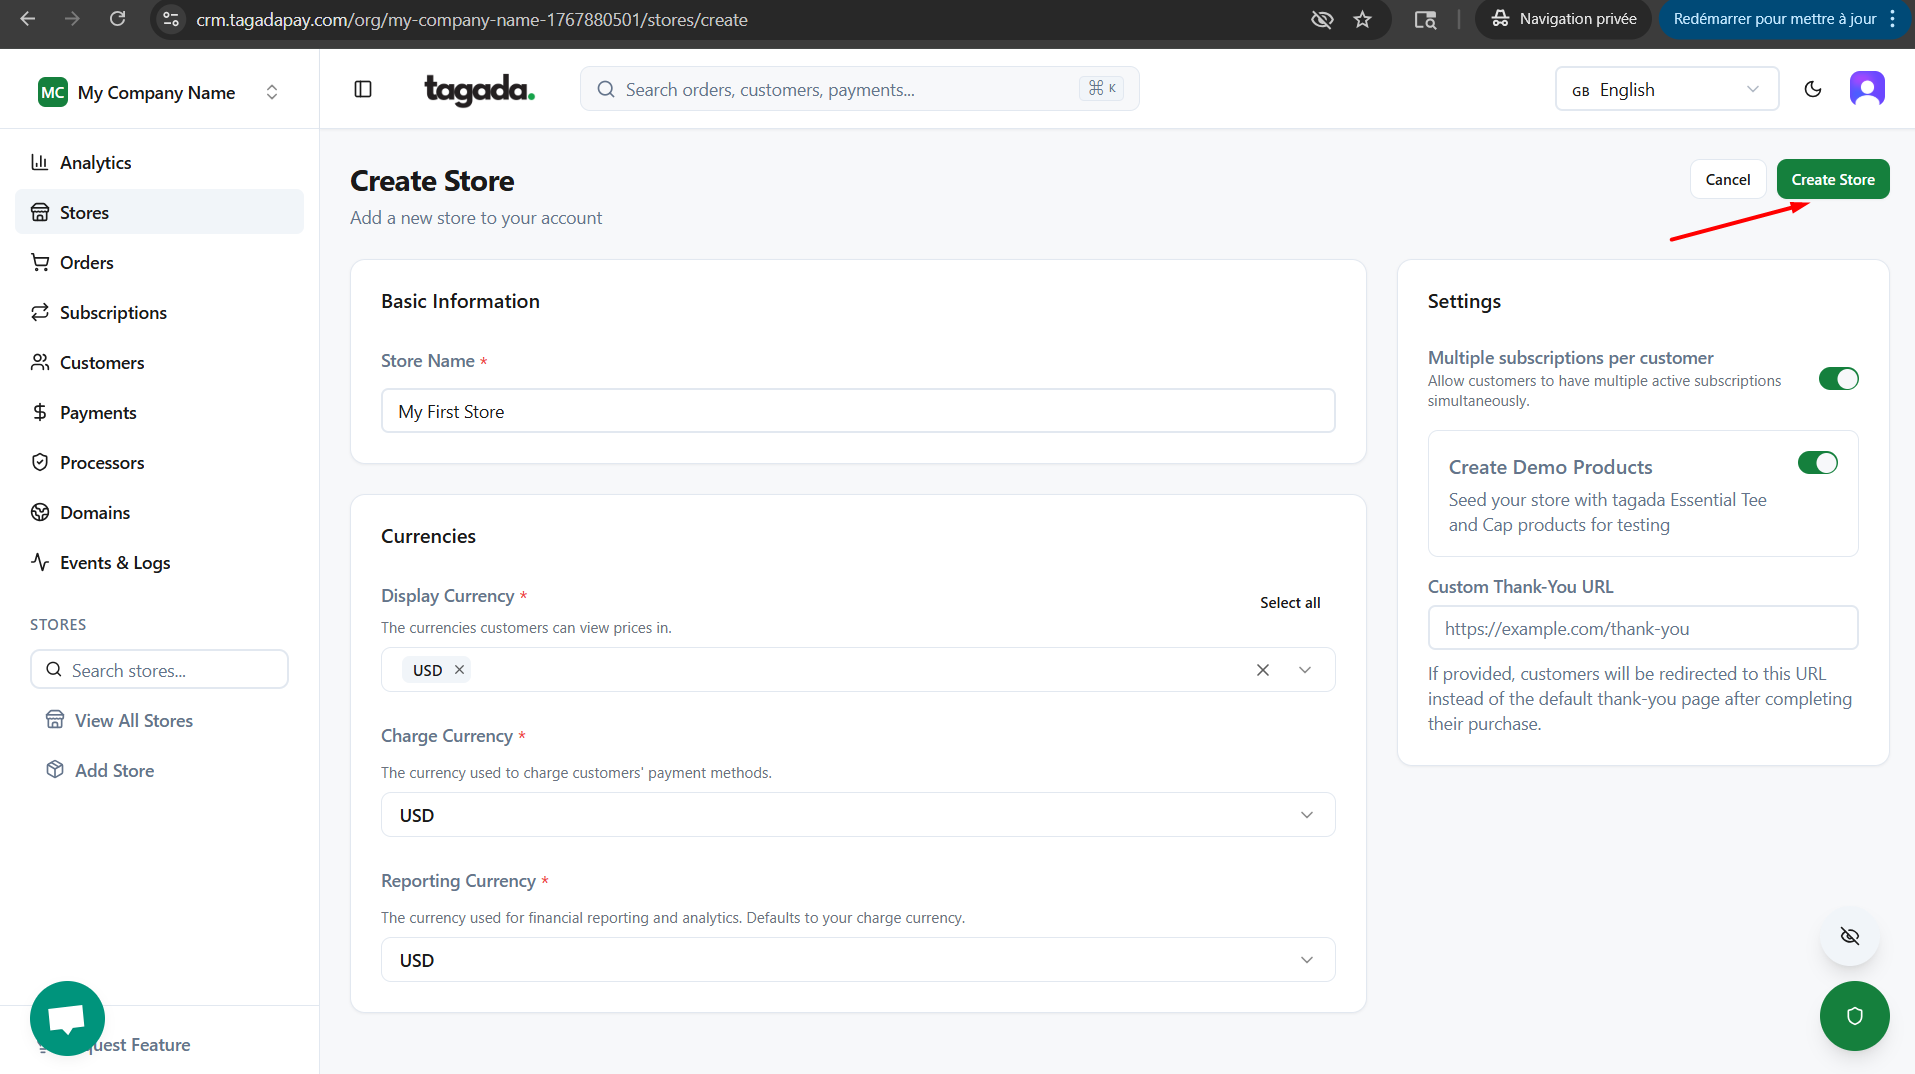
Enter the name of your store (only visible on your Tagada account, this will not affect your store on Shopify), then chose your Display Currency, Charge Currency and Reporting Currency.
Note: Once you create your store you will not be able to change your Charge Currency.
Display Currency - The currency (or currencies) shown on your checkout. If multiple currencies are enabled, the displayed currency is determined by the user’s IP location.
Charge Currency - The primary currency of your store. All currency conversions are calculated from this currency.
Reporting Currency - The main currency used for reporting and analytics across your store.
If you are running multiple subscriptions per customer make sure to enable that option at this step.
If you want to create demo products for your store for testing purposes make sure to enable that option at this step. This will add two Tagada products to your store.
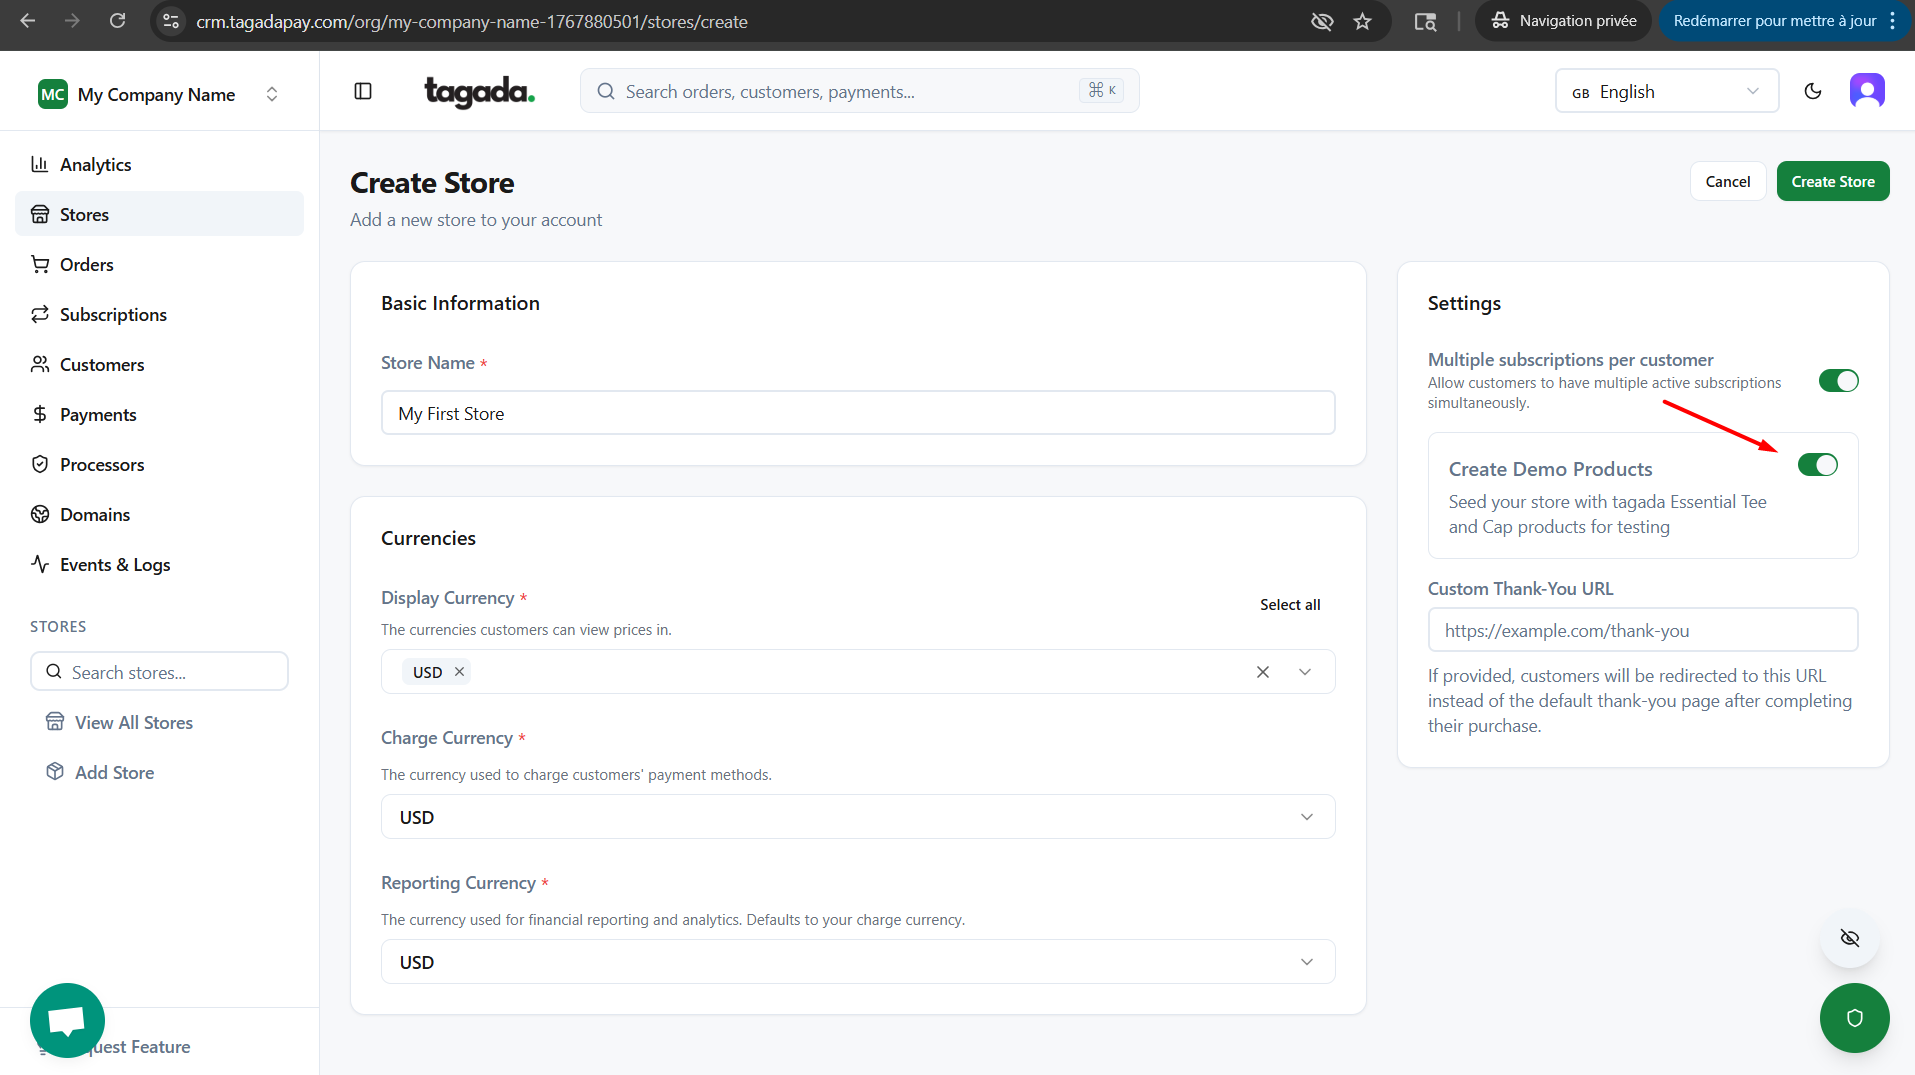
Click on Create Store
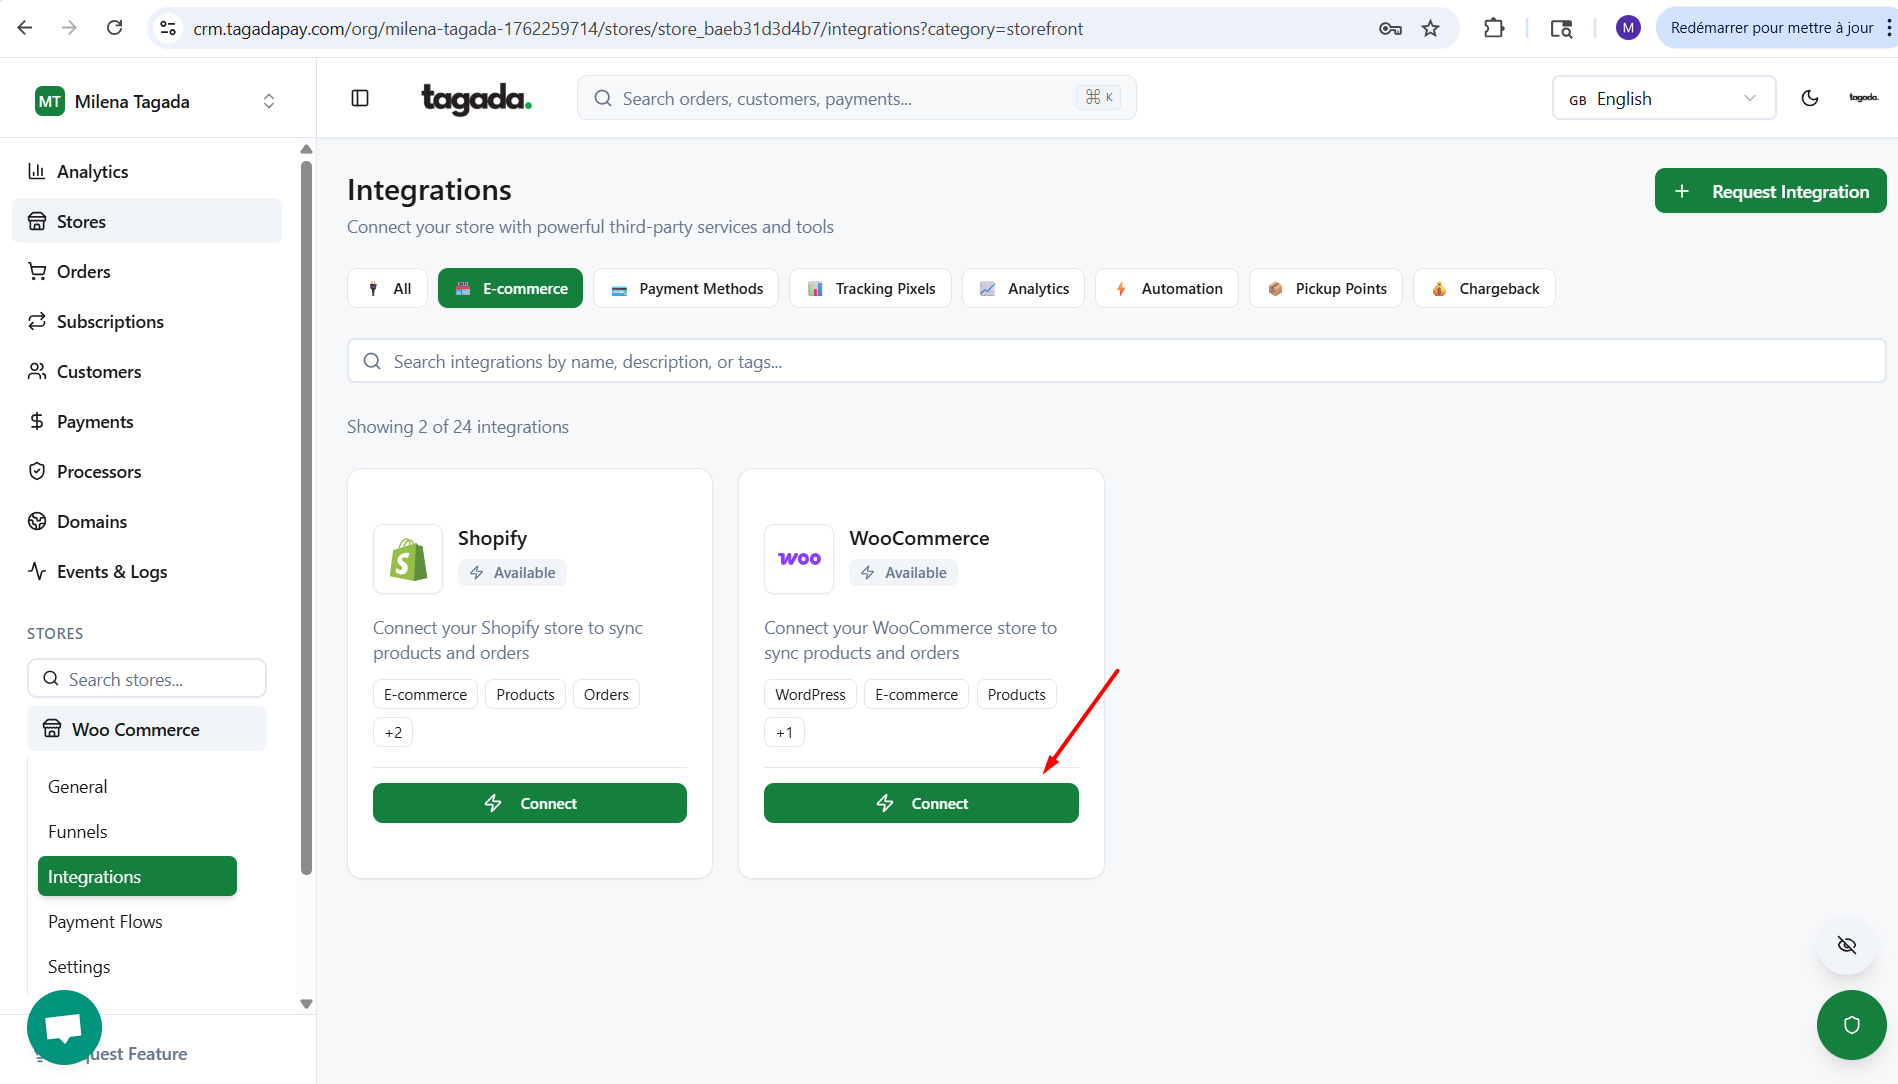
Click on Connect a storefront
Within the Woo Commerce window, click on Connect.
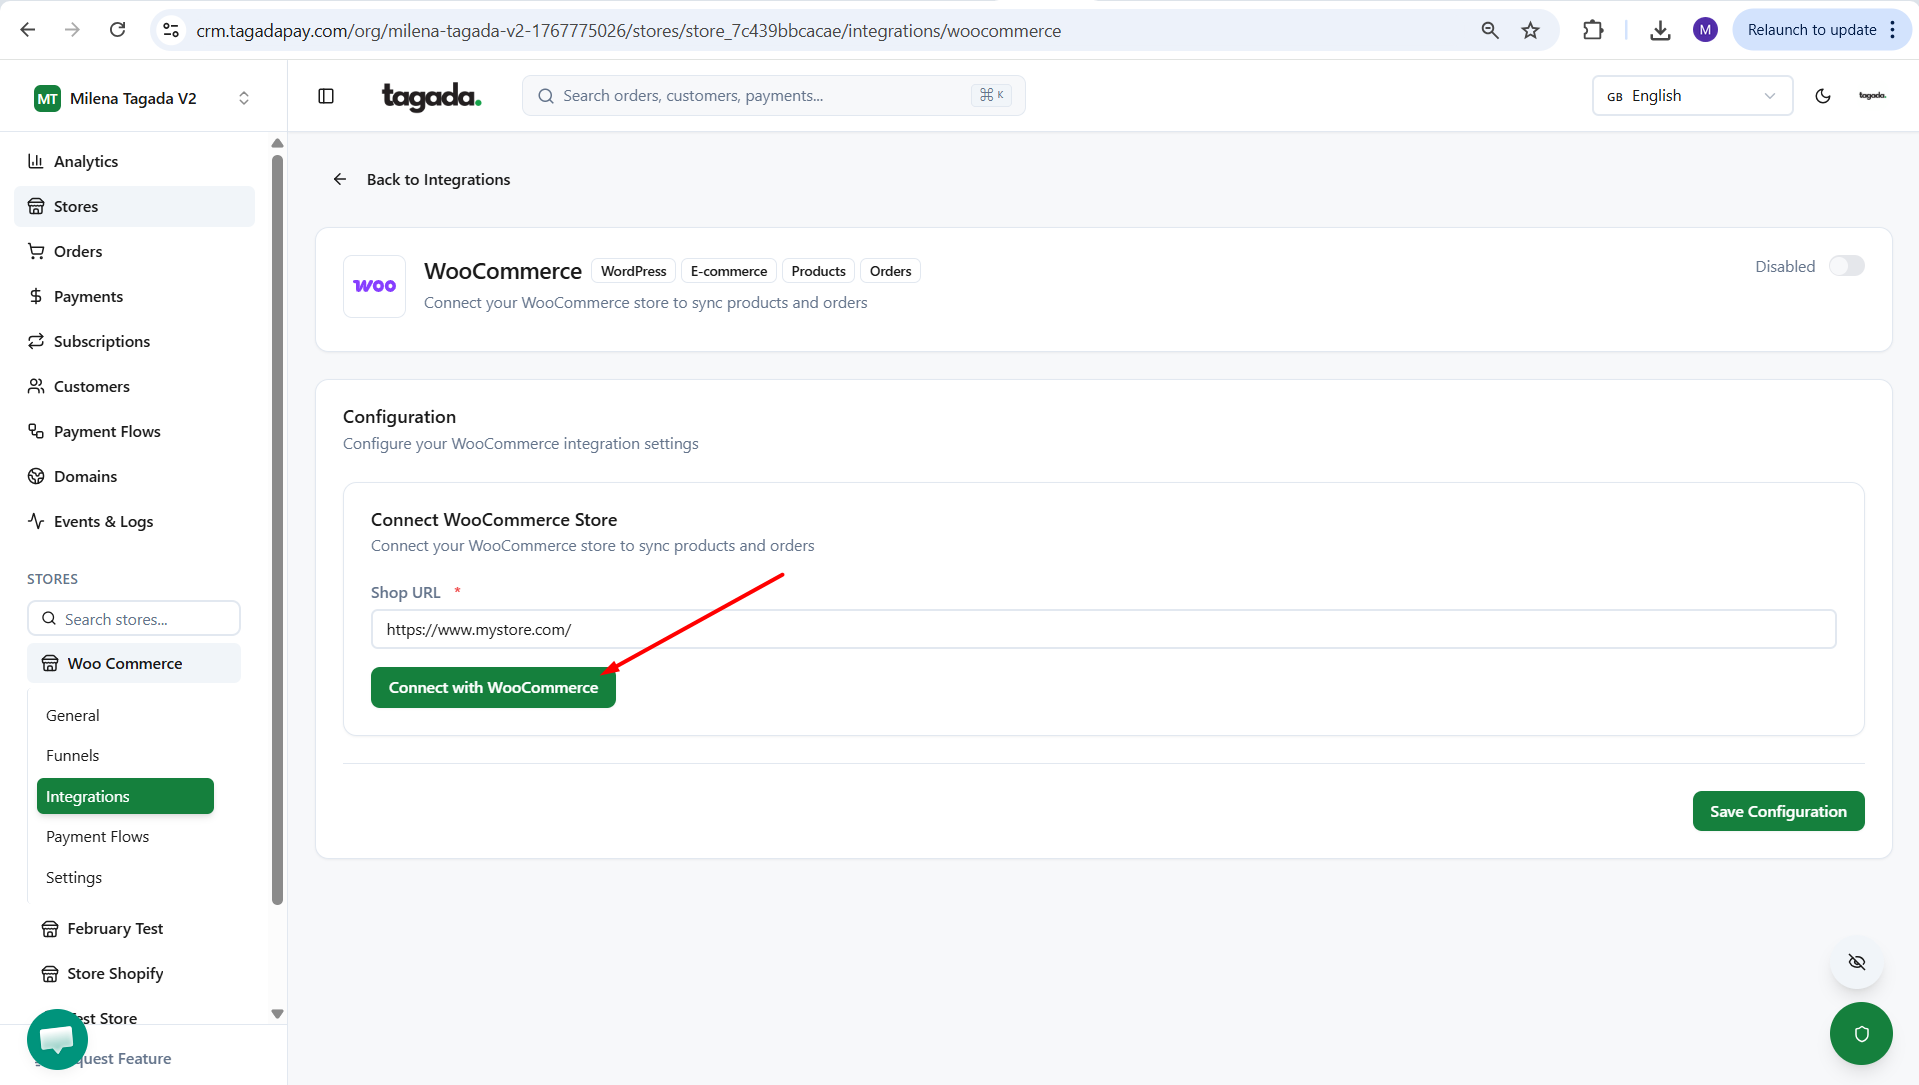
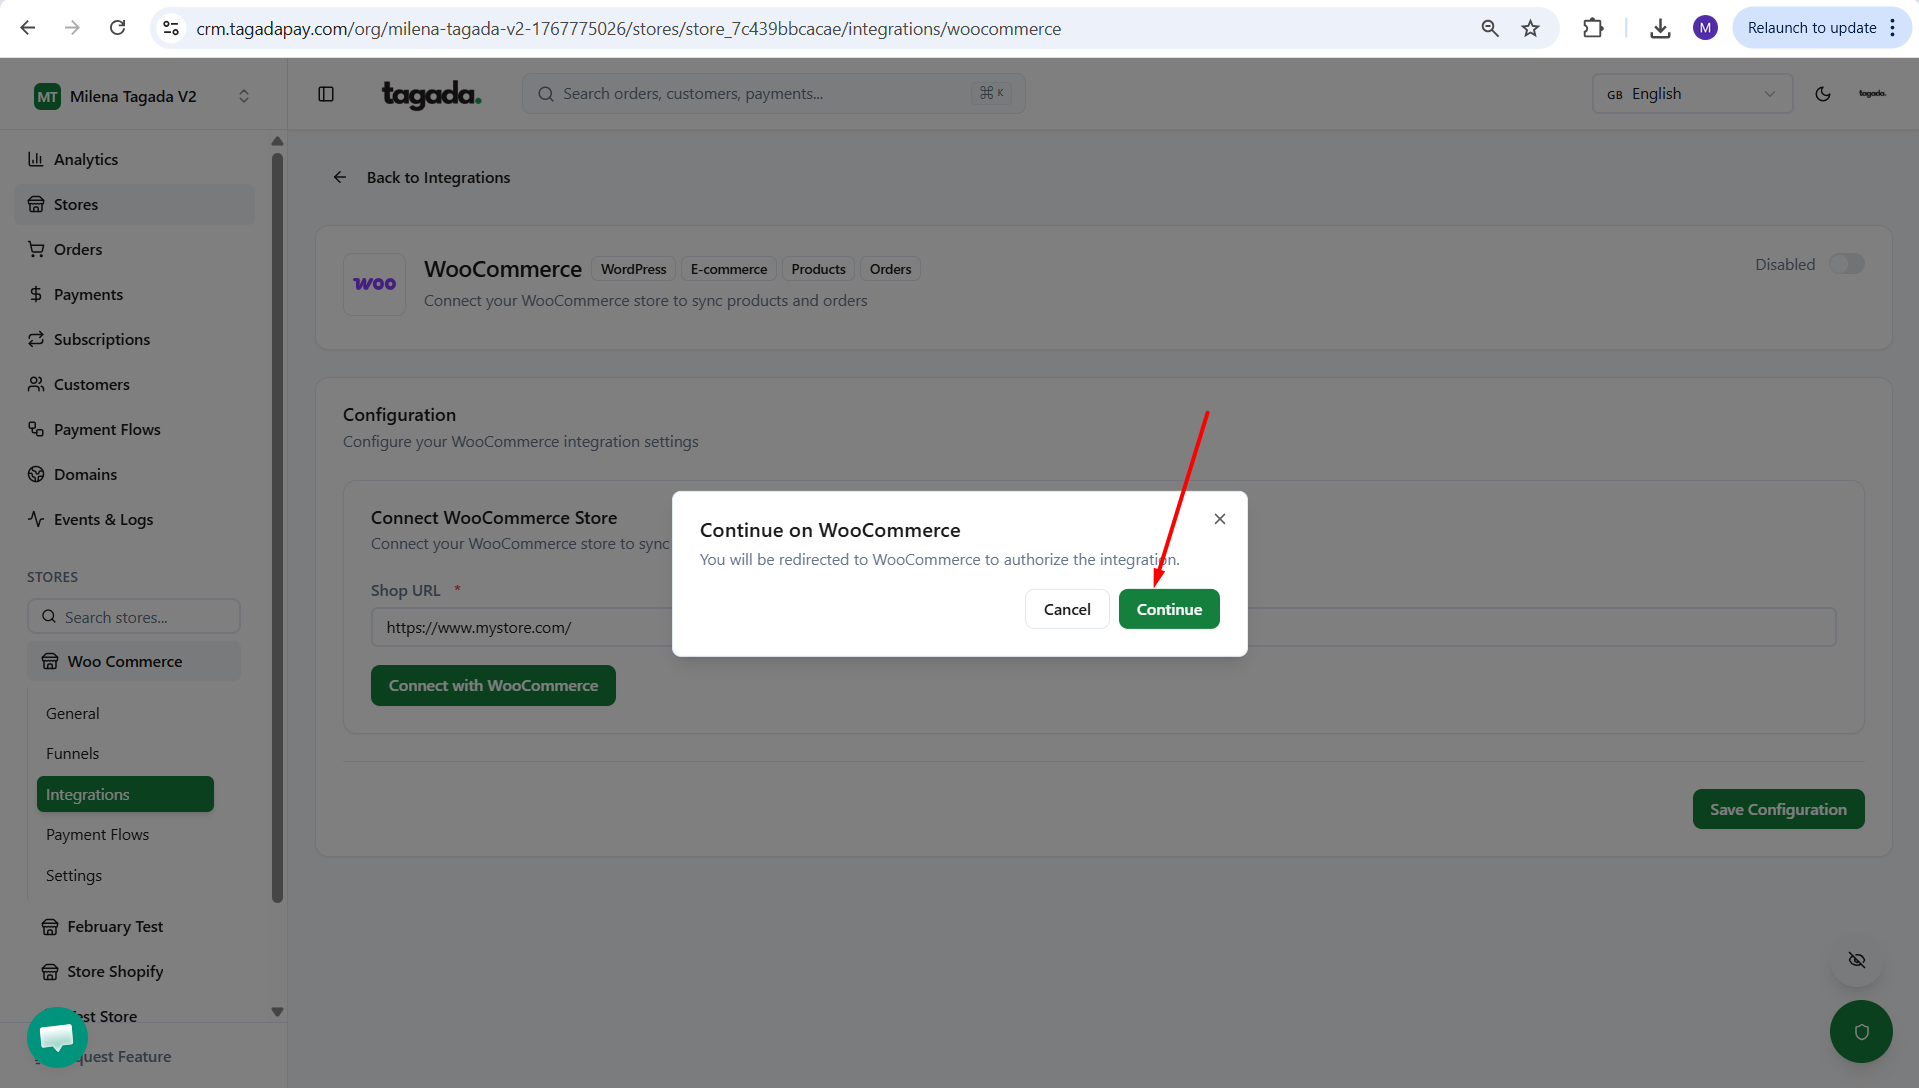
Enter your store URL and click on Connect your WooCommerce shop. Make sure to include the full URL including https://
Click on Continue. You will be redirected to your woocommerce store in order to Install the Tagada plugin.
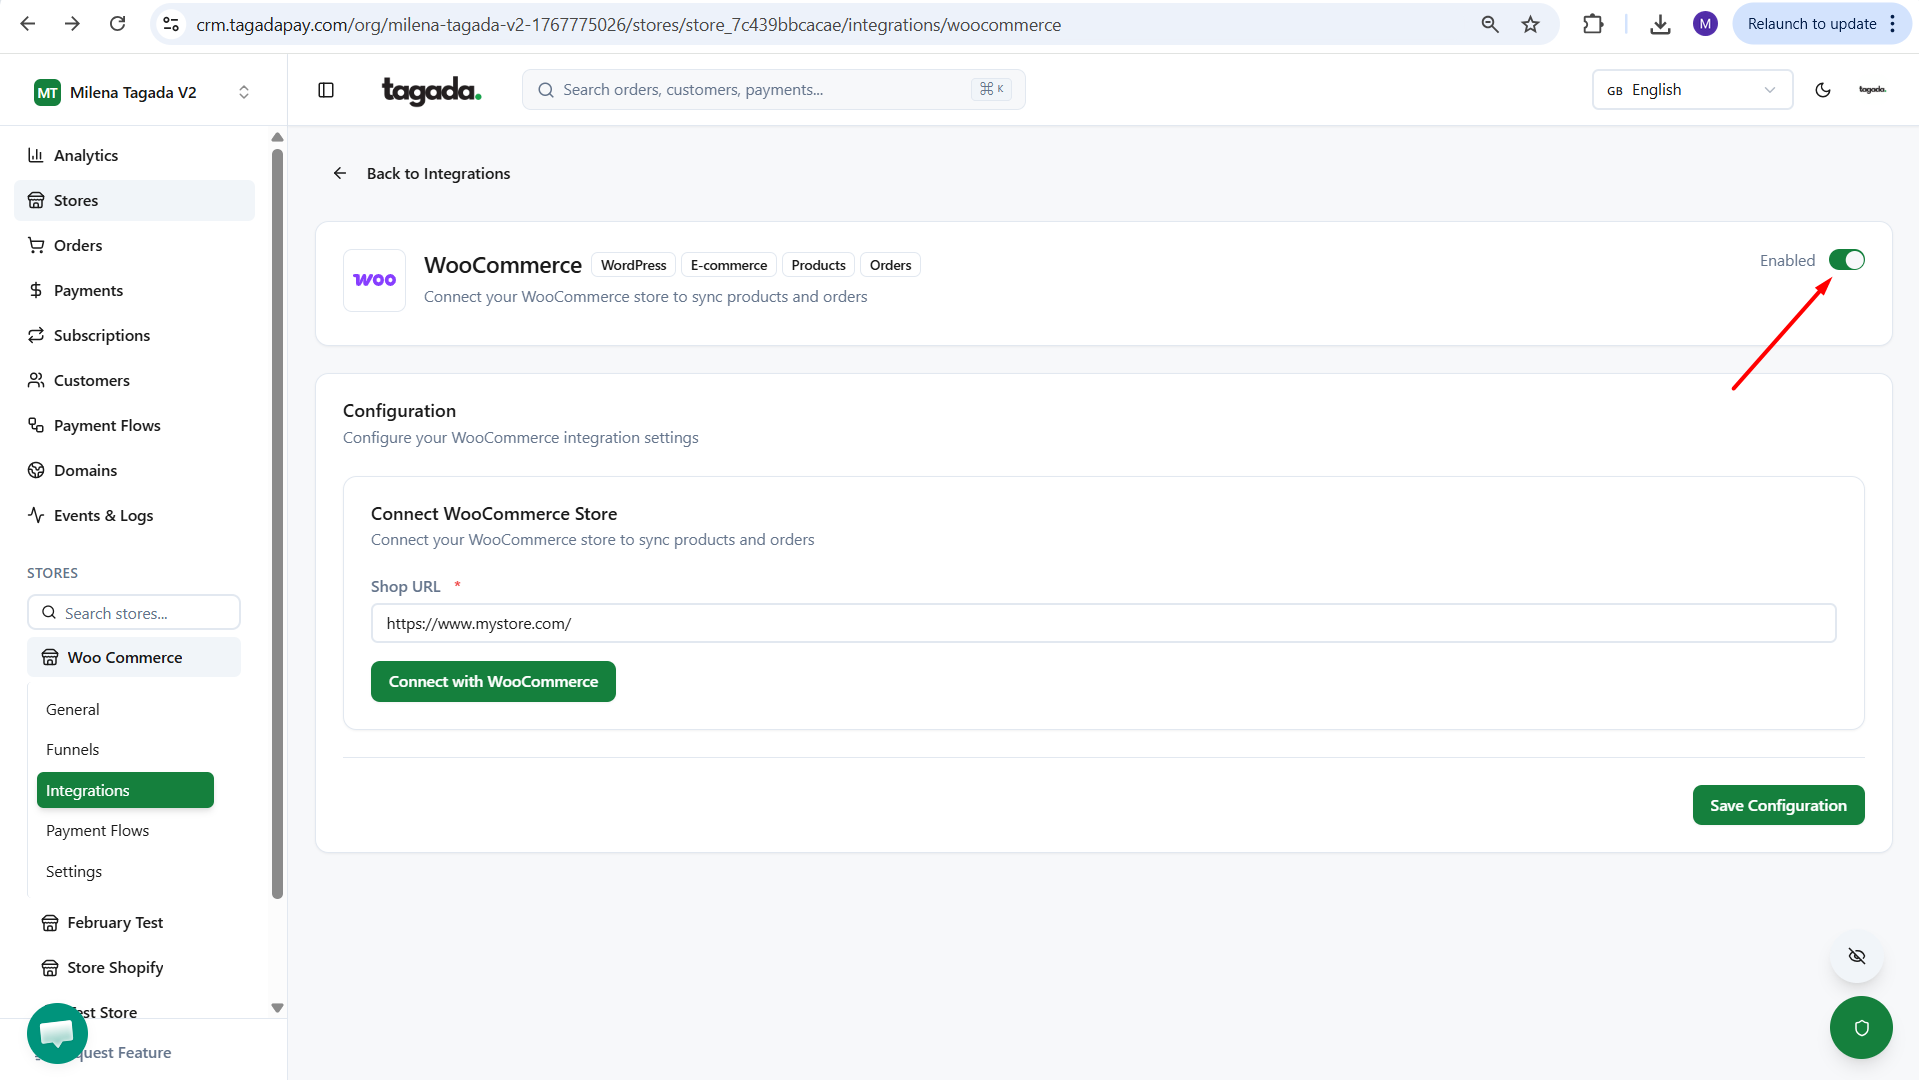
Make sure the Enabled button is toggled on.
