Installation instructions
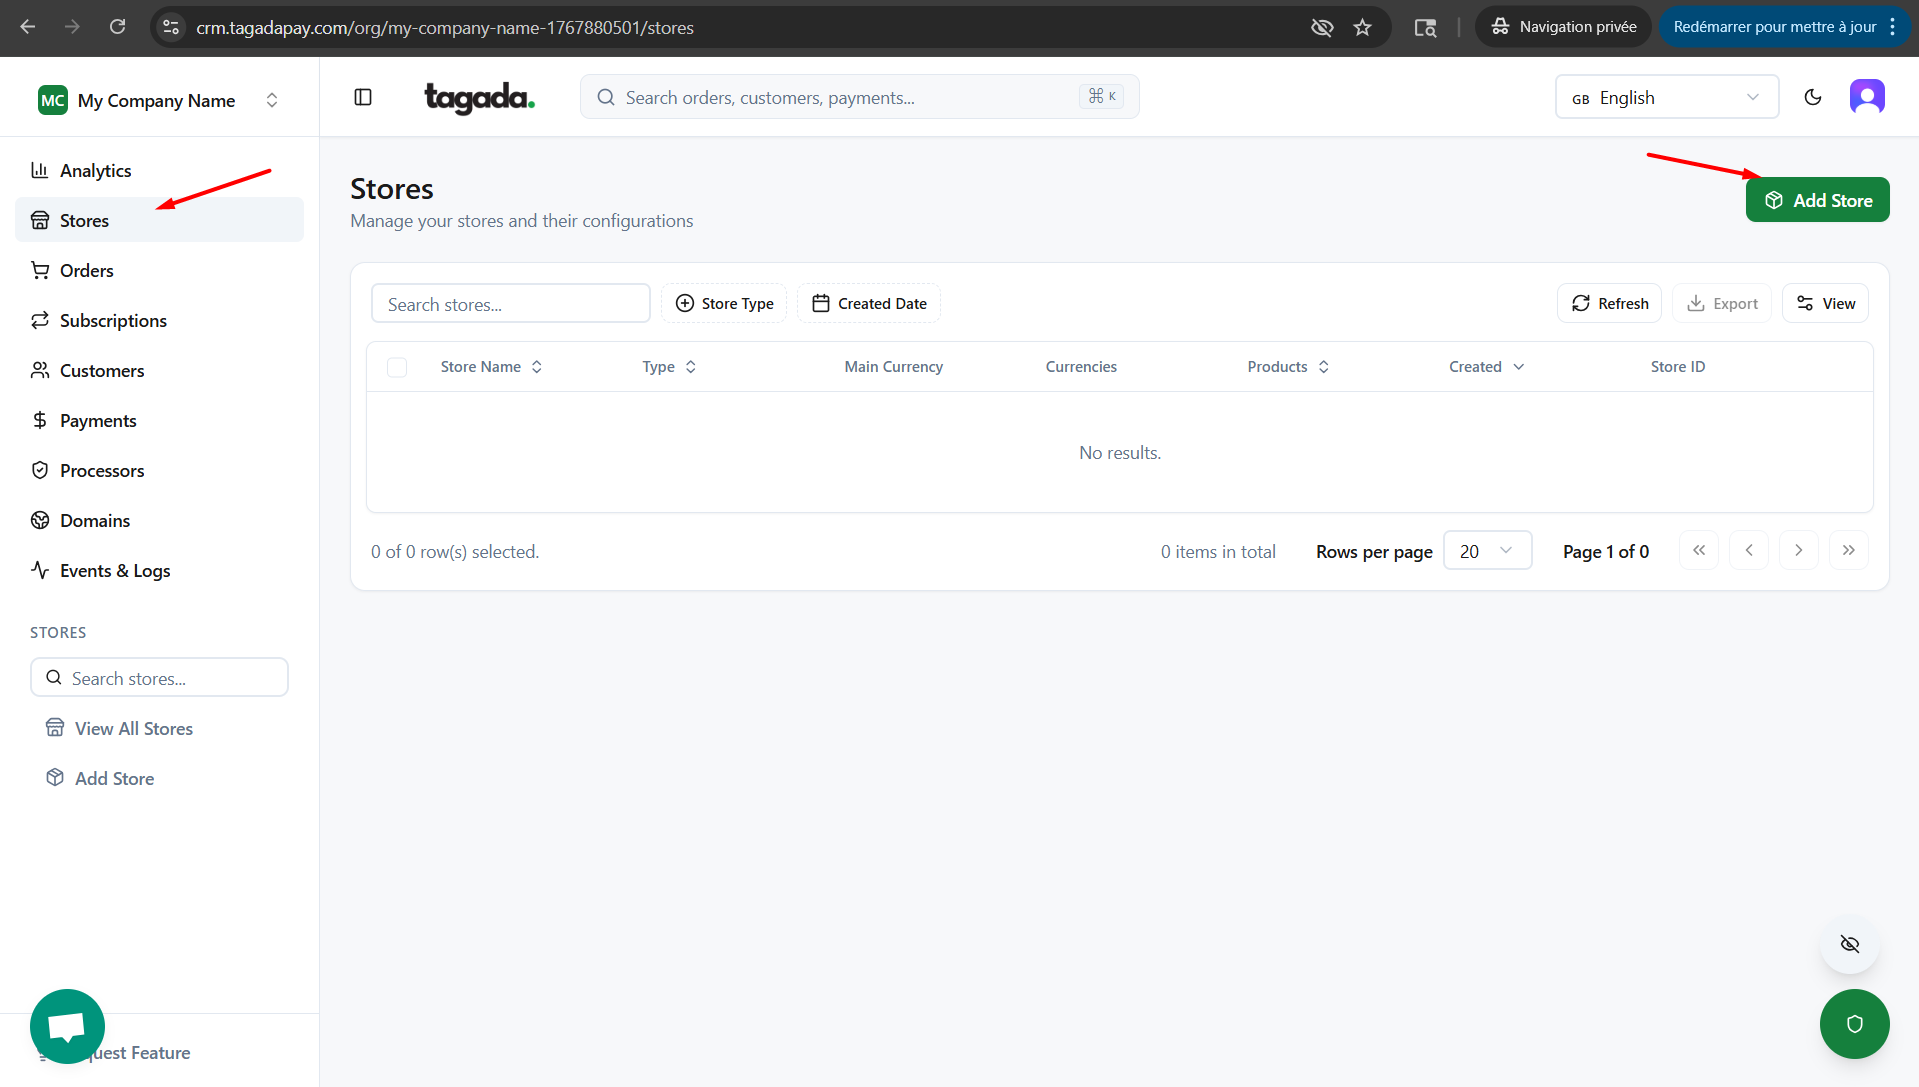
In your Tagada account click on Stores on the left side menu and then click on the Add Store button.
Enter the name of your store (only visible on your Tagada account, this will not affect your store on Shopify), then chose your Display Currency, Charge Currency and Reporting Currency.

Note: Once you create your store you will not be able to change your Charge Currency.
Display Currency - The currency (or currencies) shown on your checkout. If multiple currencies are enabled, the displayed currency is determined by the user’s IP location.
Charge Currency - The primary currency of your store. All currency conversions are calculated from this currency.
Reporting Currency - The main currency used for reporting and analytics across your store.
If you are running multiple subscriptions per customer make sure to enable that option at this step.
If you want to create demo products for your store for testing purposes make sure to enable that option at this step. This will add two Tagada products to your store.
Click on Create Store
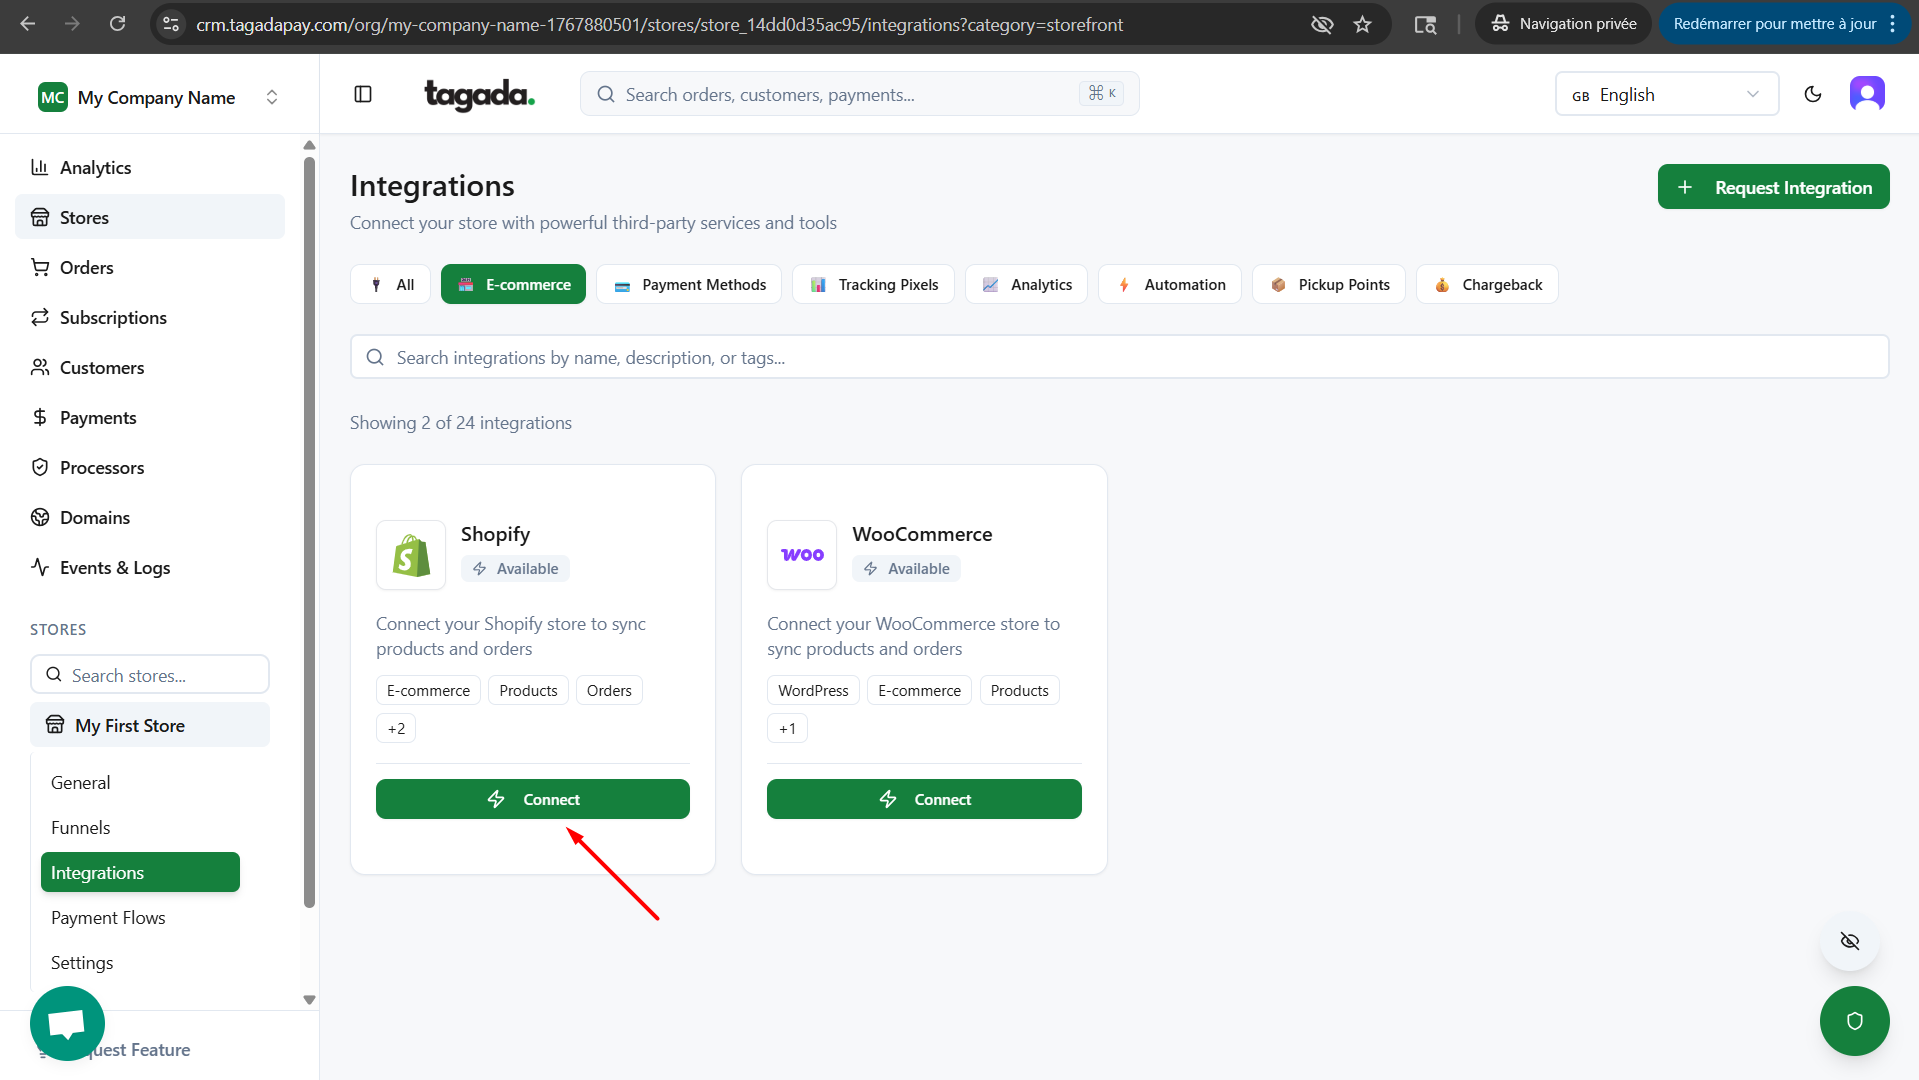
Click on Connect a storefront

Within the Shopify window, click on Connect.
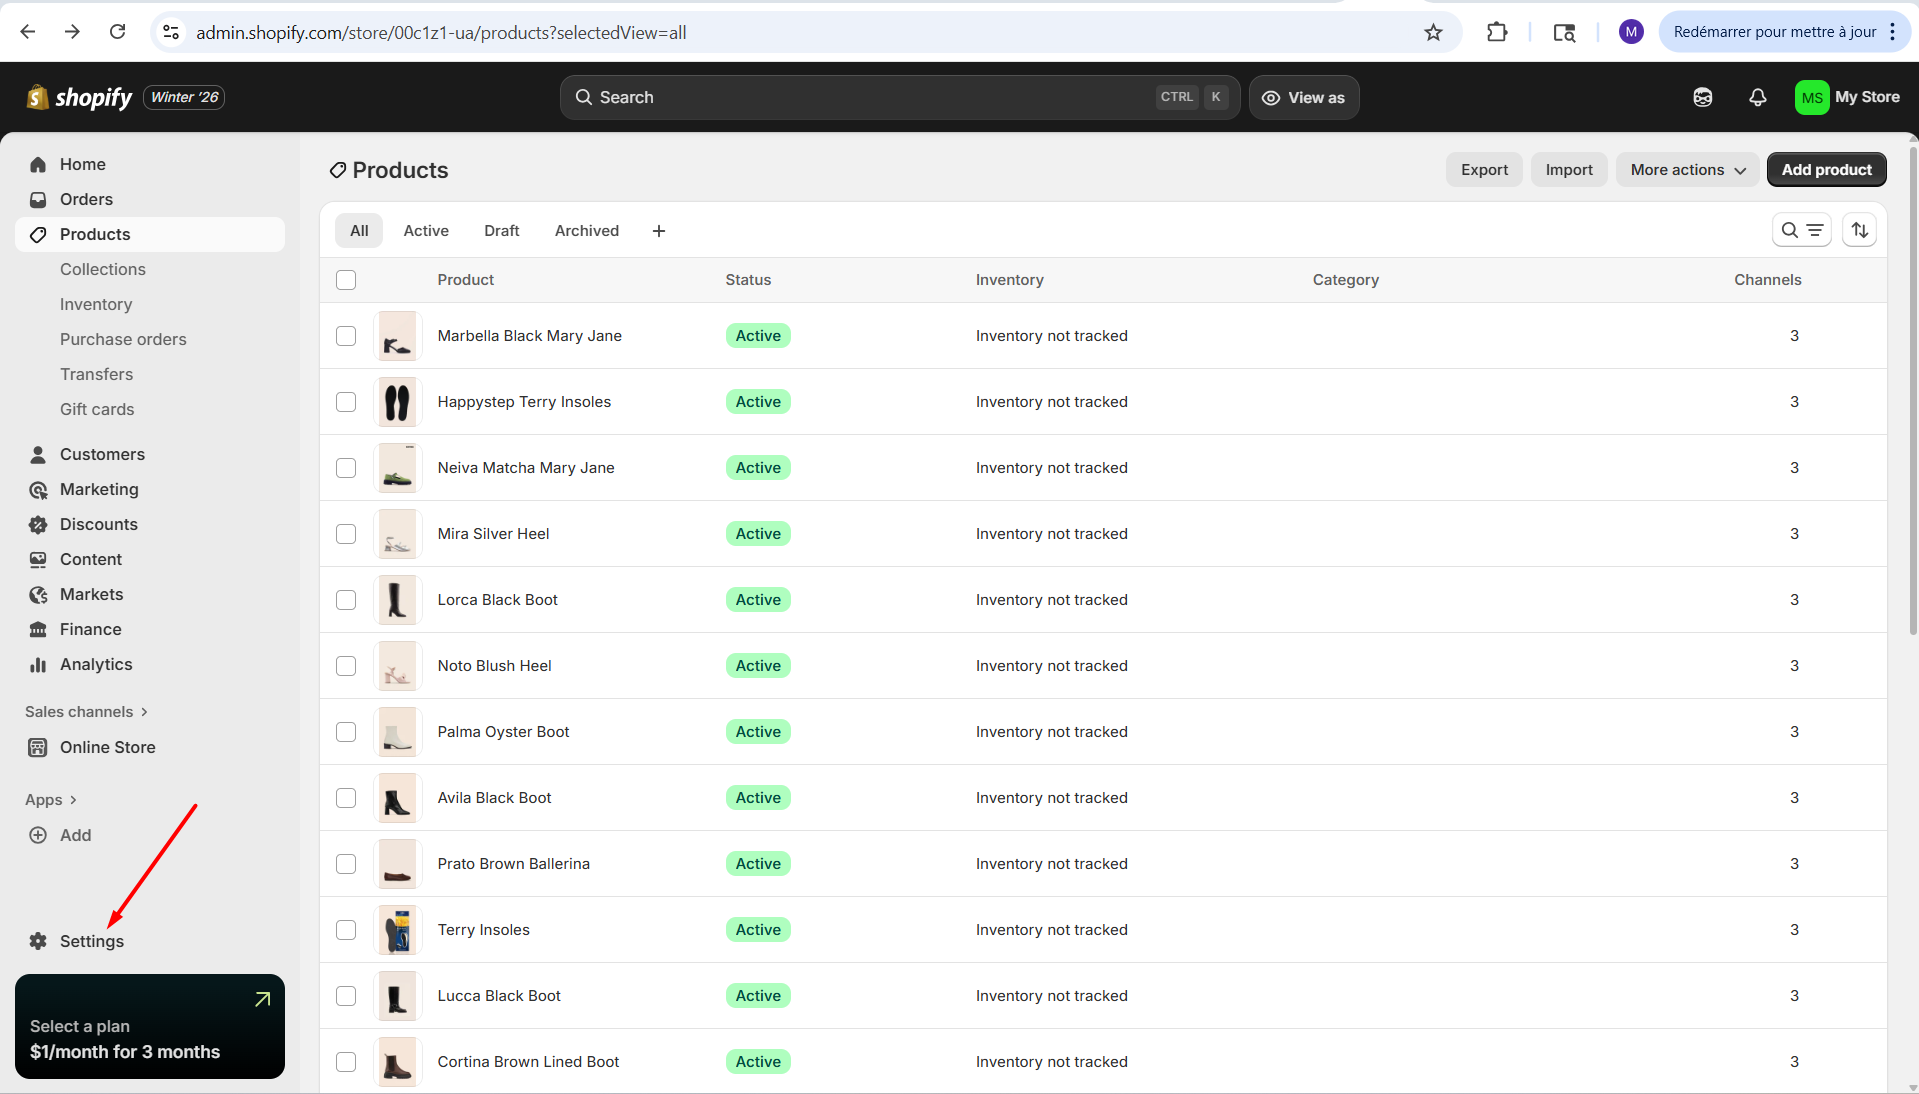
Connect to your Shopify store and click on Settings.
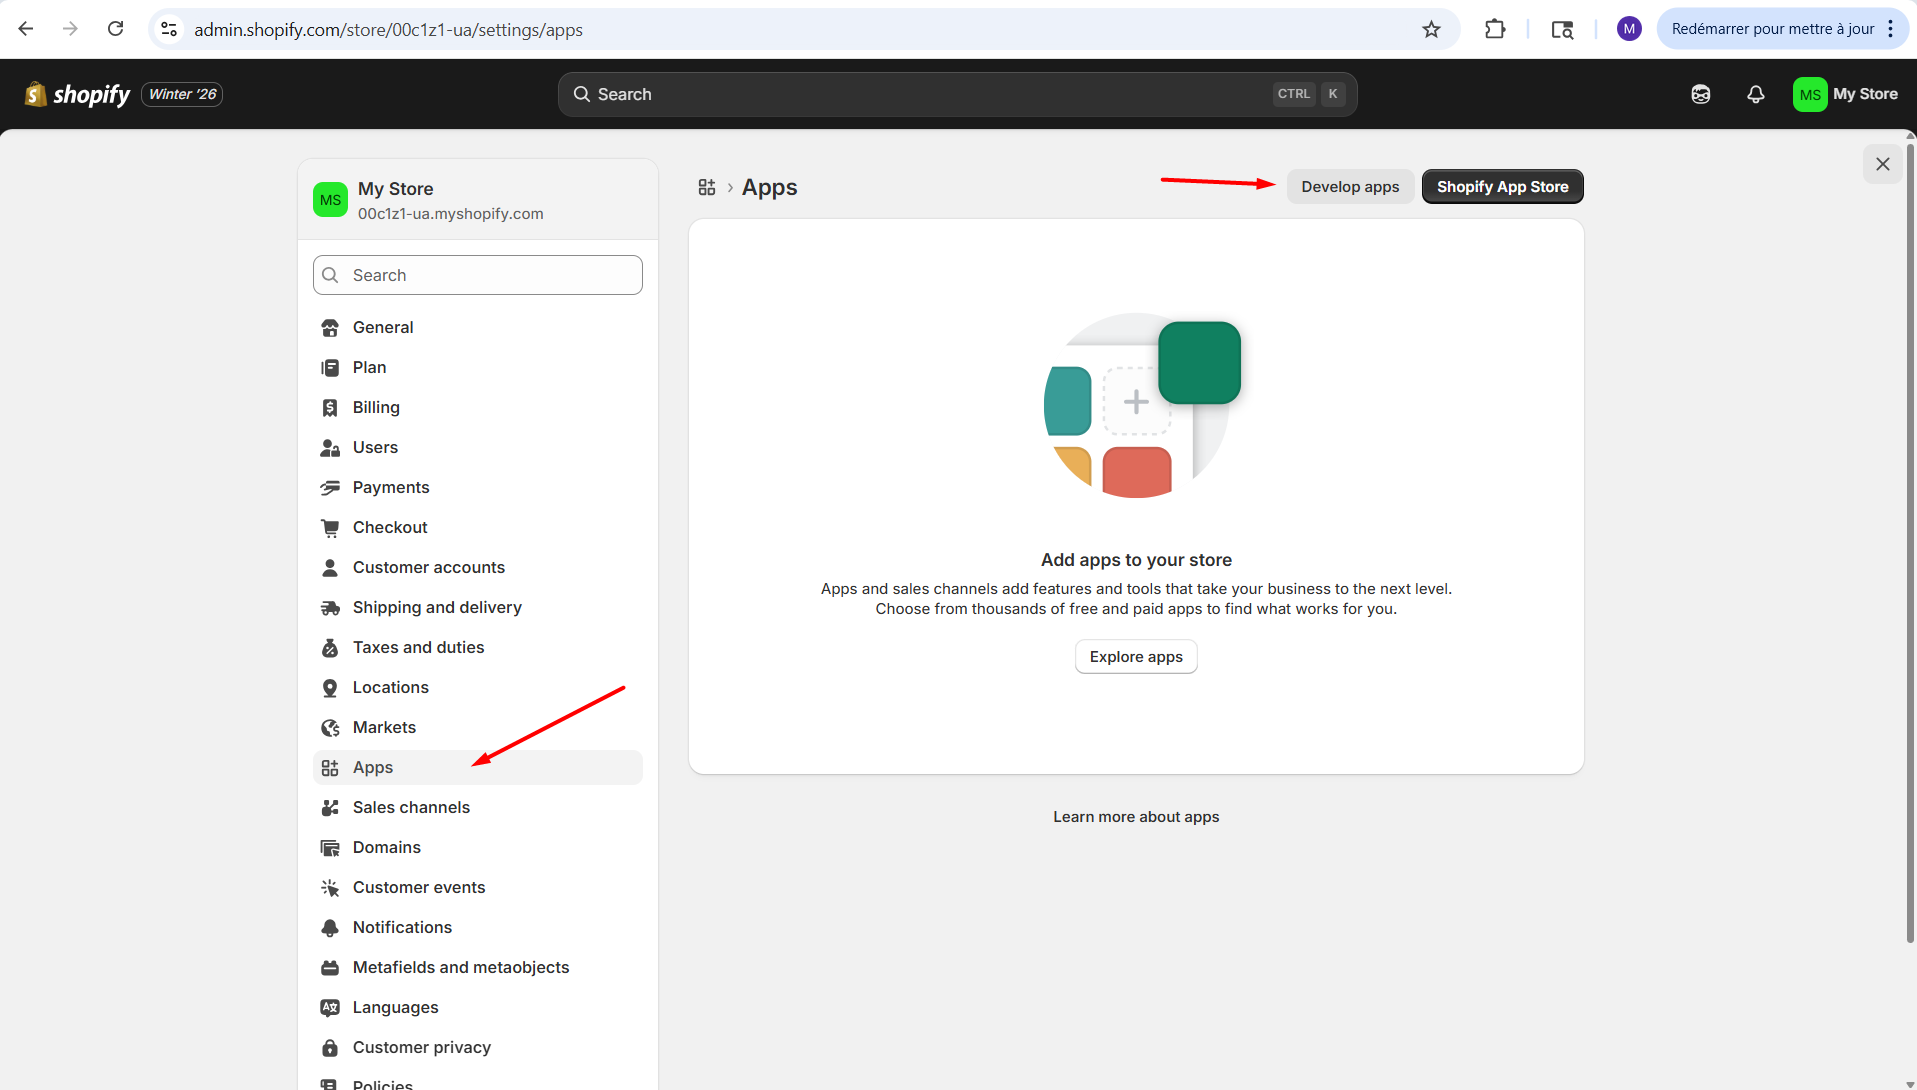
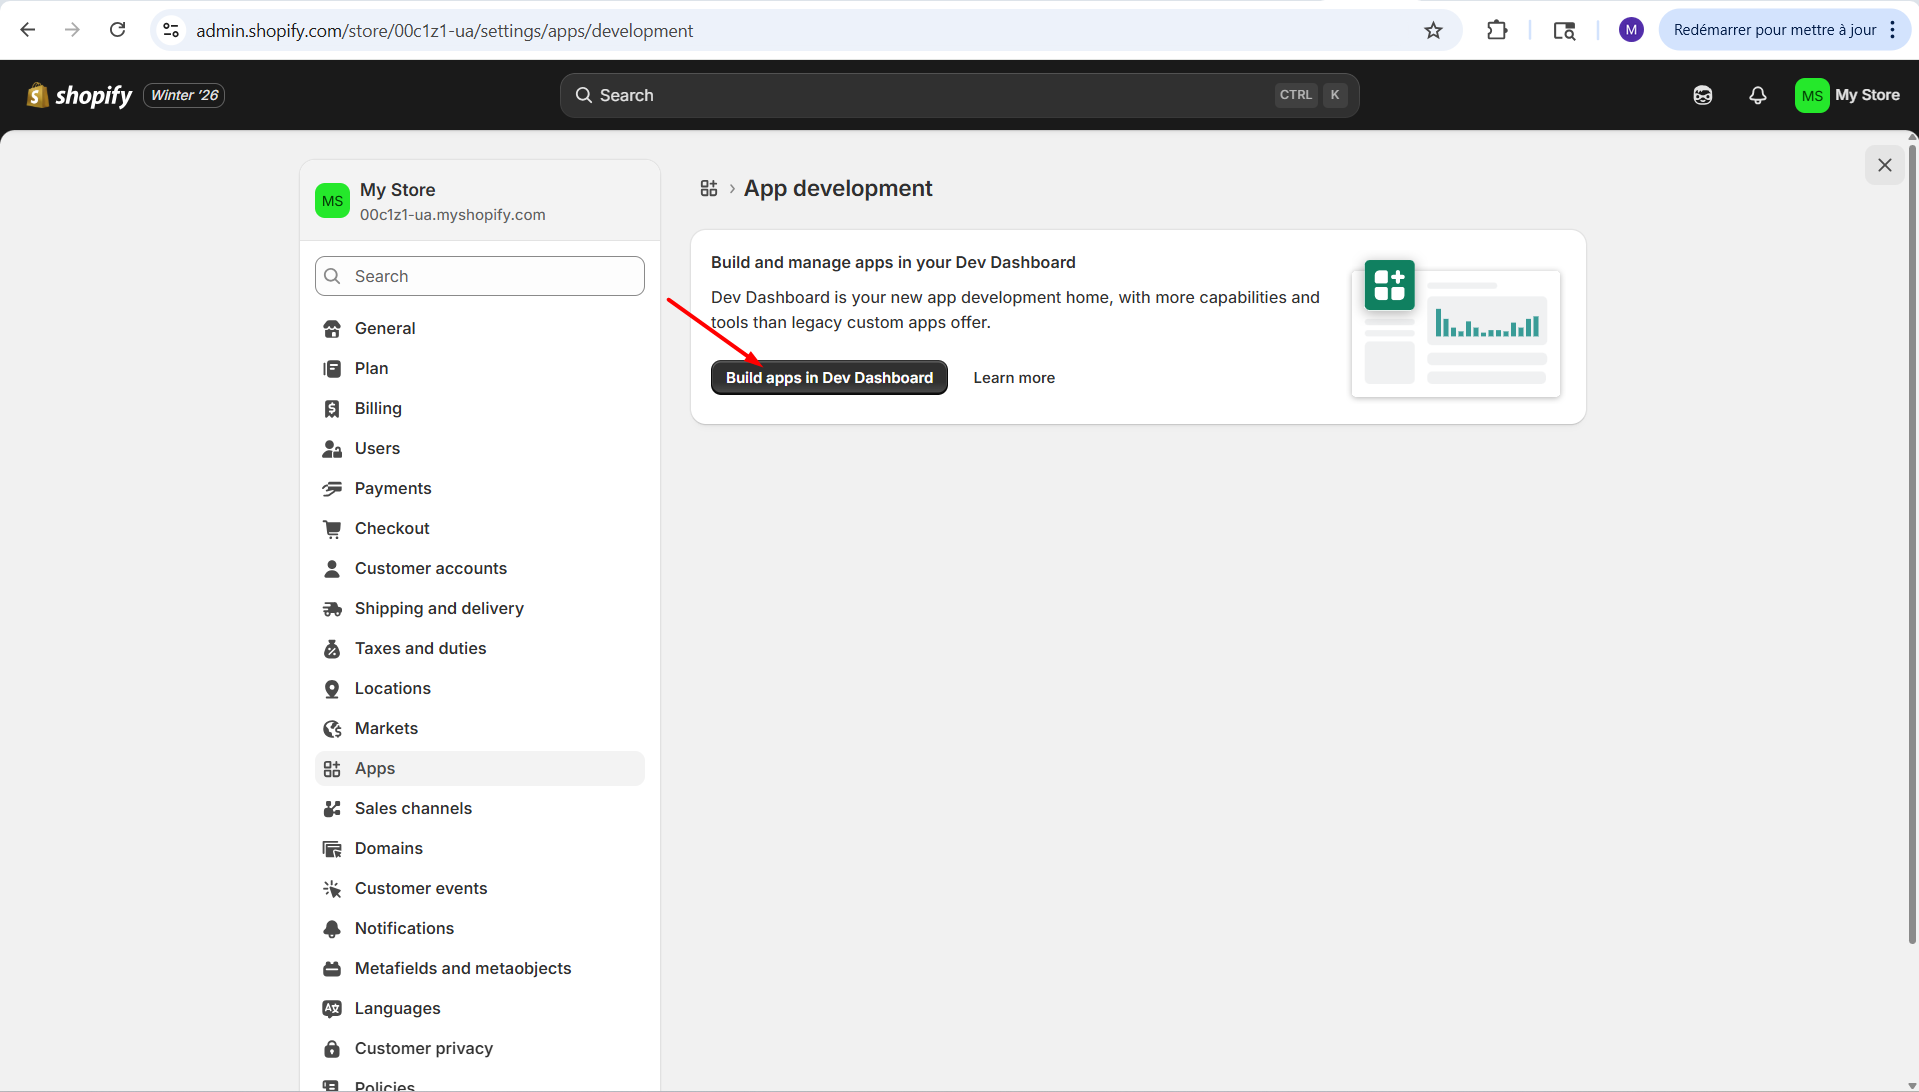
Click on Apps, and then click on Develop Apps.
Click on Build apps in Dev Dashboard.
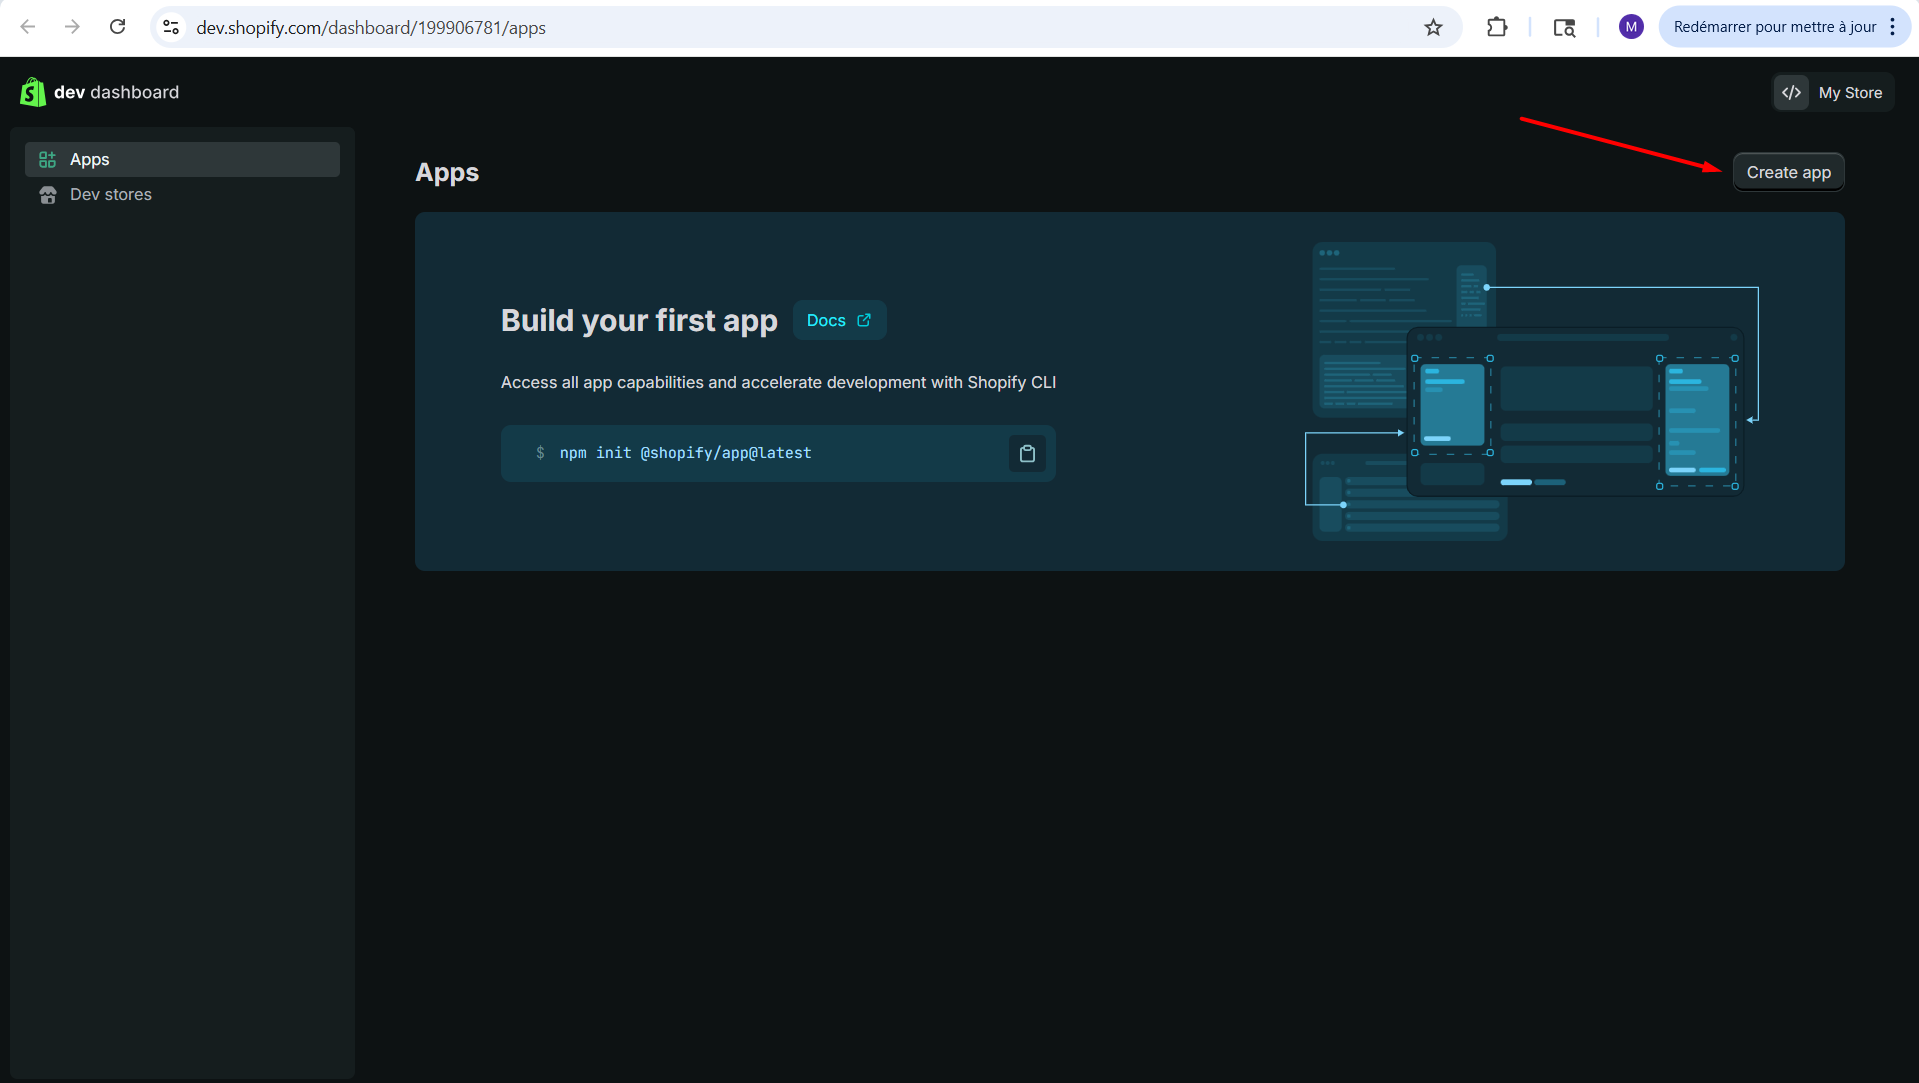
Click on Create app.
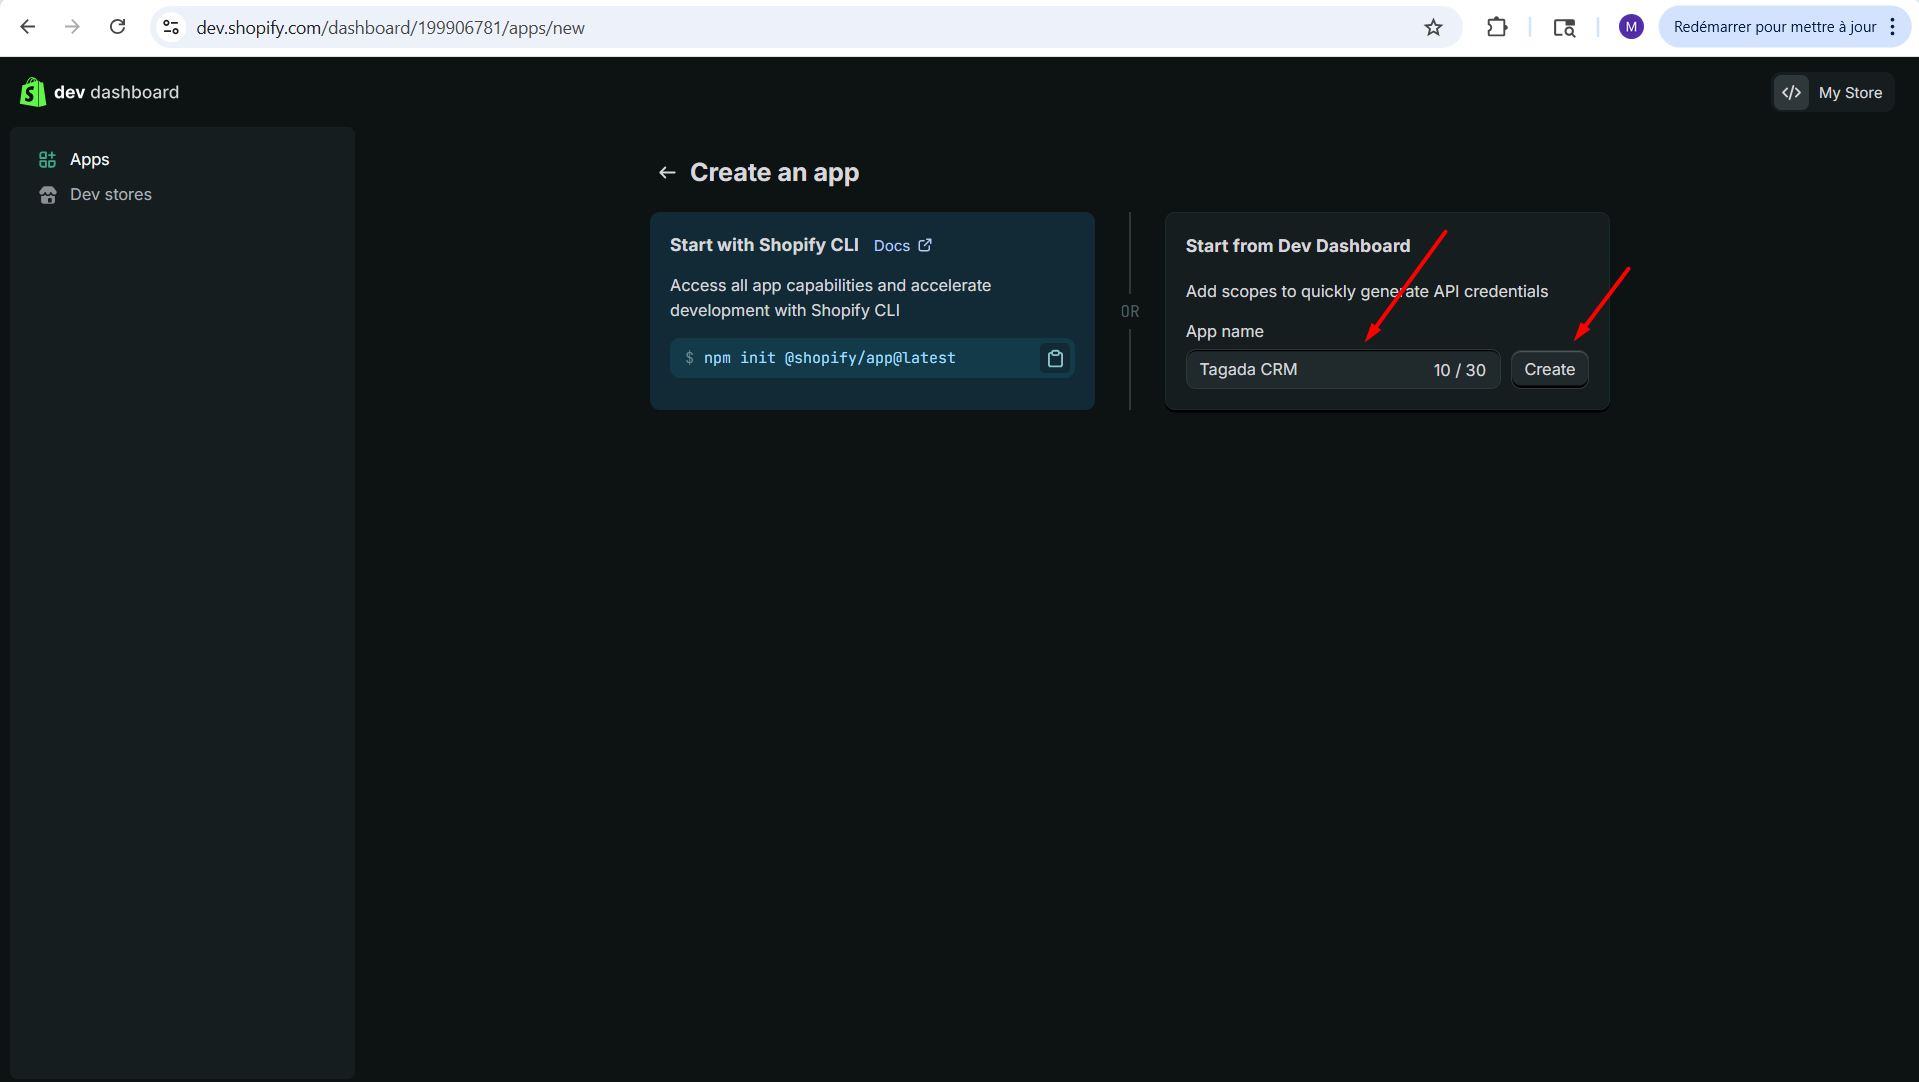
Enter the name of the app as Tagada CRM and click on Create.
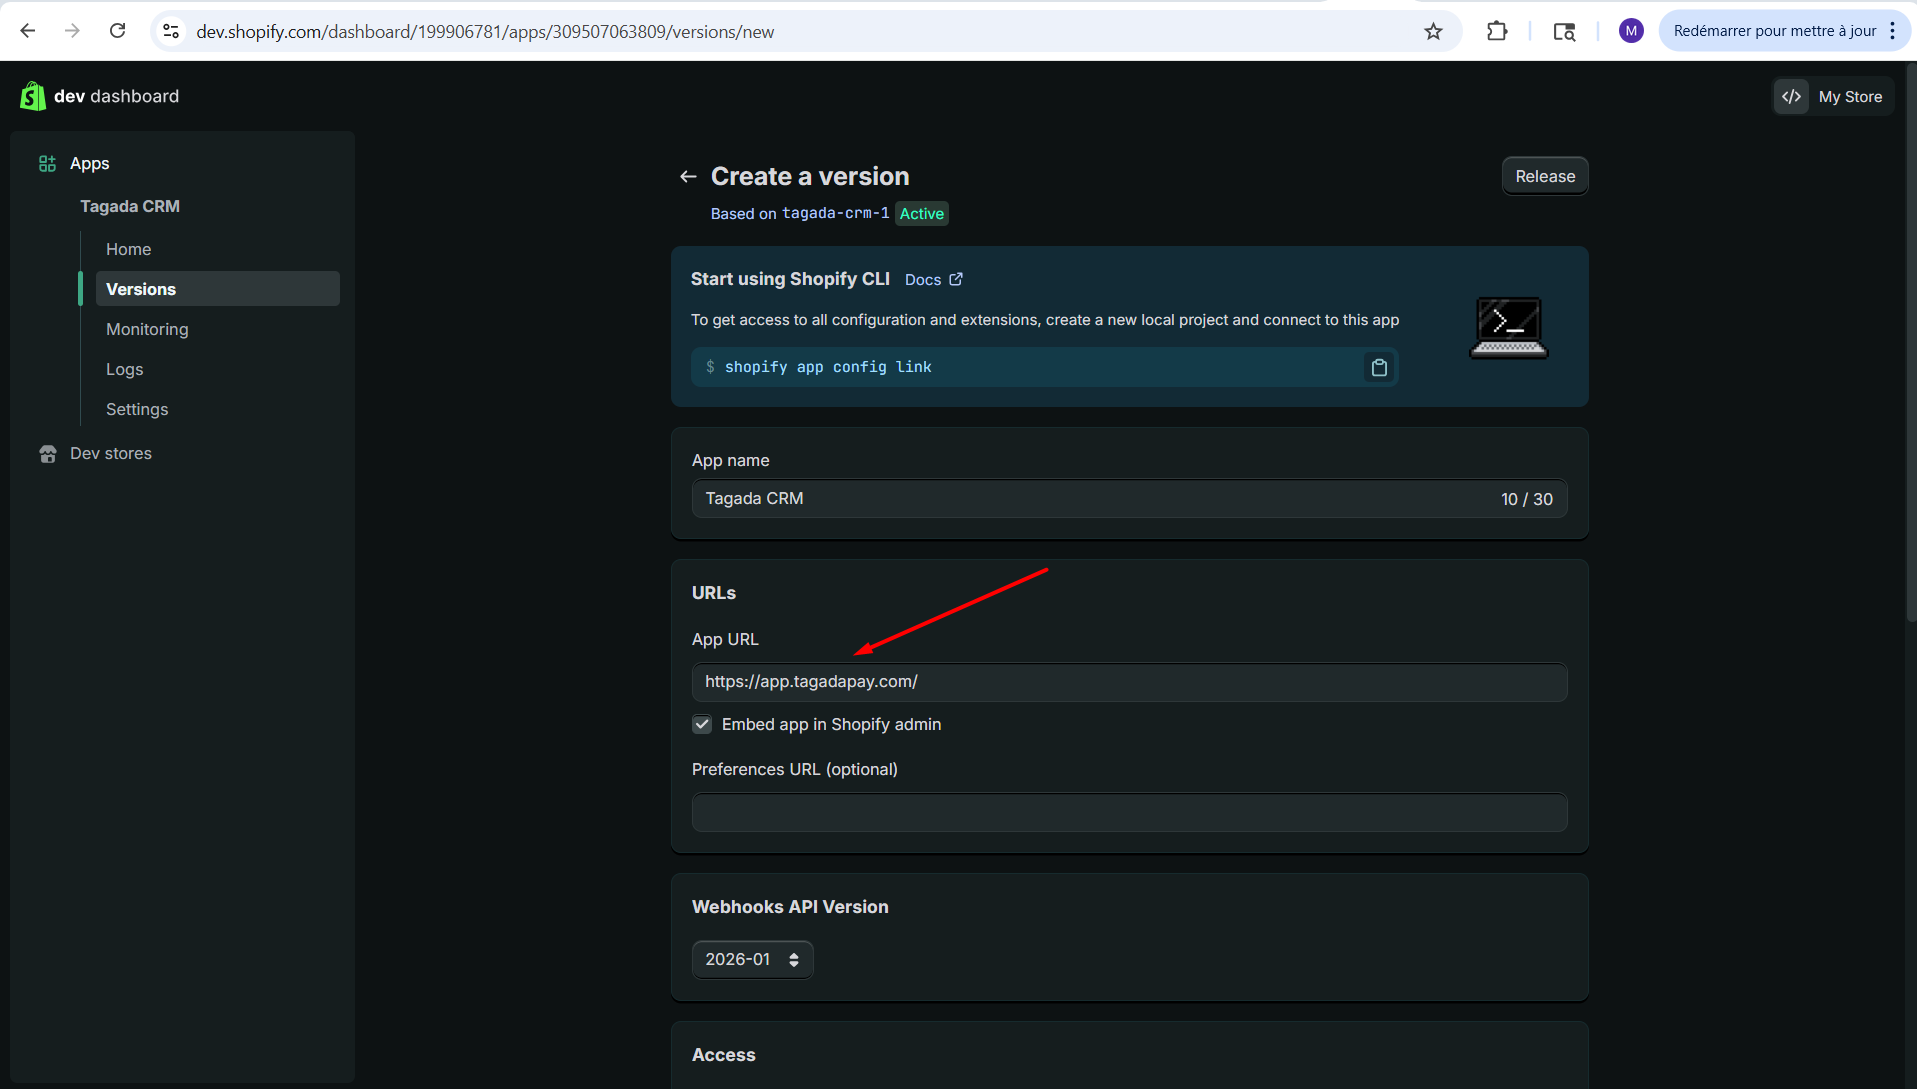
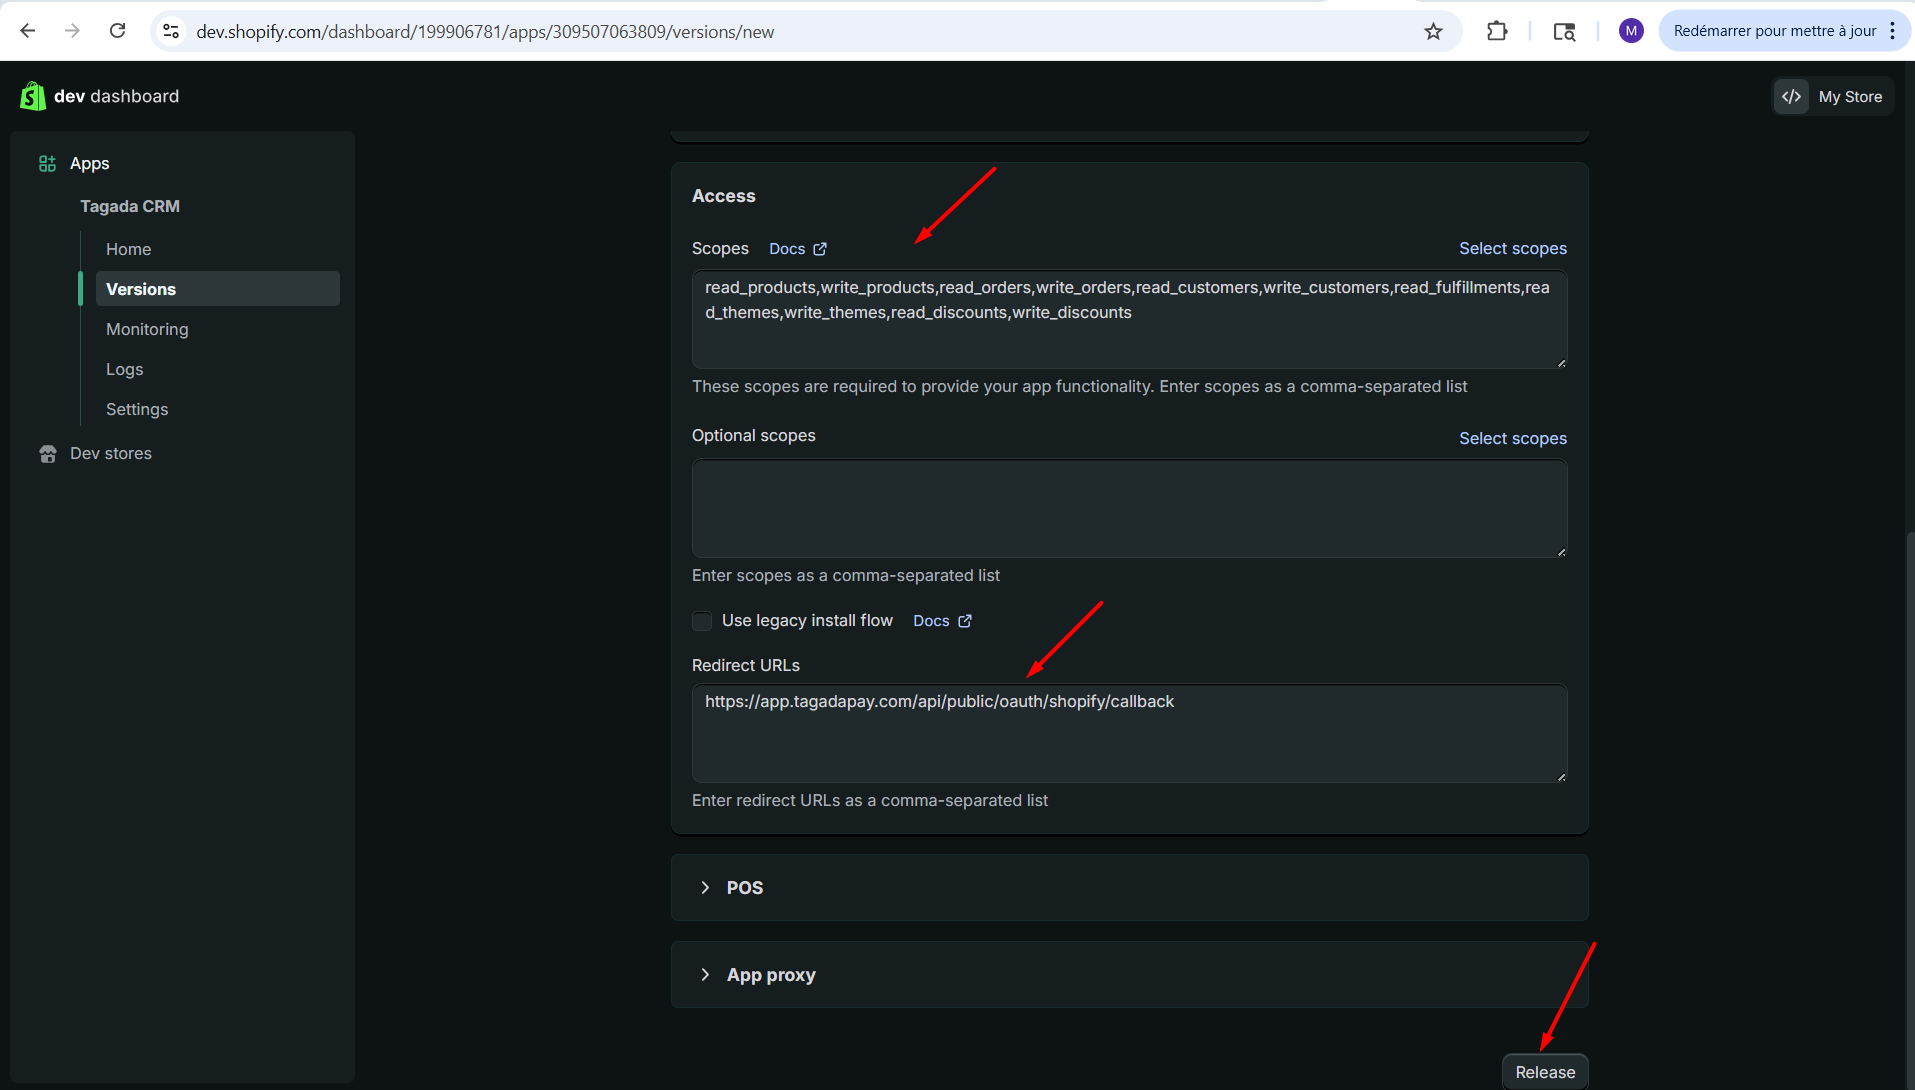
Enter the following information:
App URL: https://app.tagada.io
Scopes: read_products,write_products,read_orders,write_orders,read_customers,write_customers,read_fulfillments,read_themes,write_themes,read_discounts,write_discounts
Redirect URLs: https://api.tagada.io/api/public/oauth/shopify/callback
Then, click on Release.
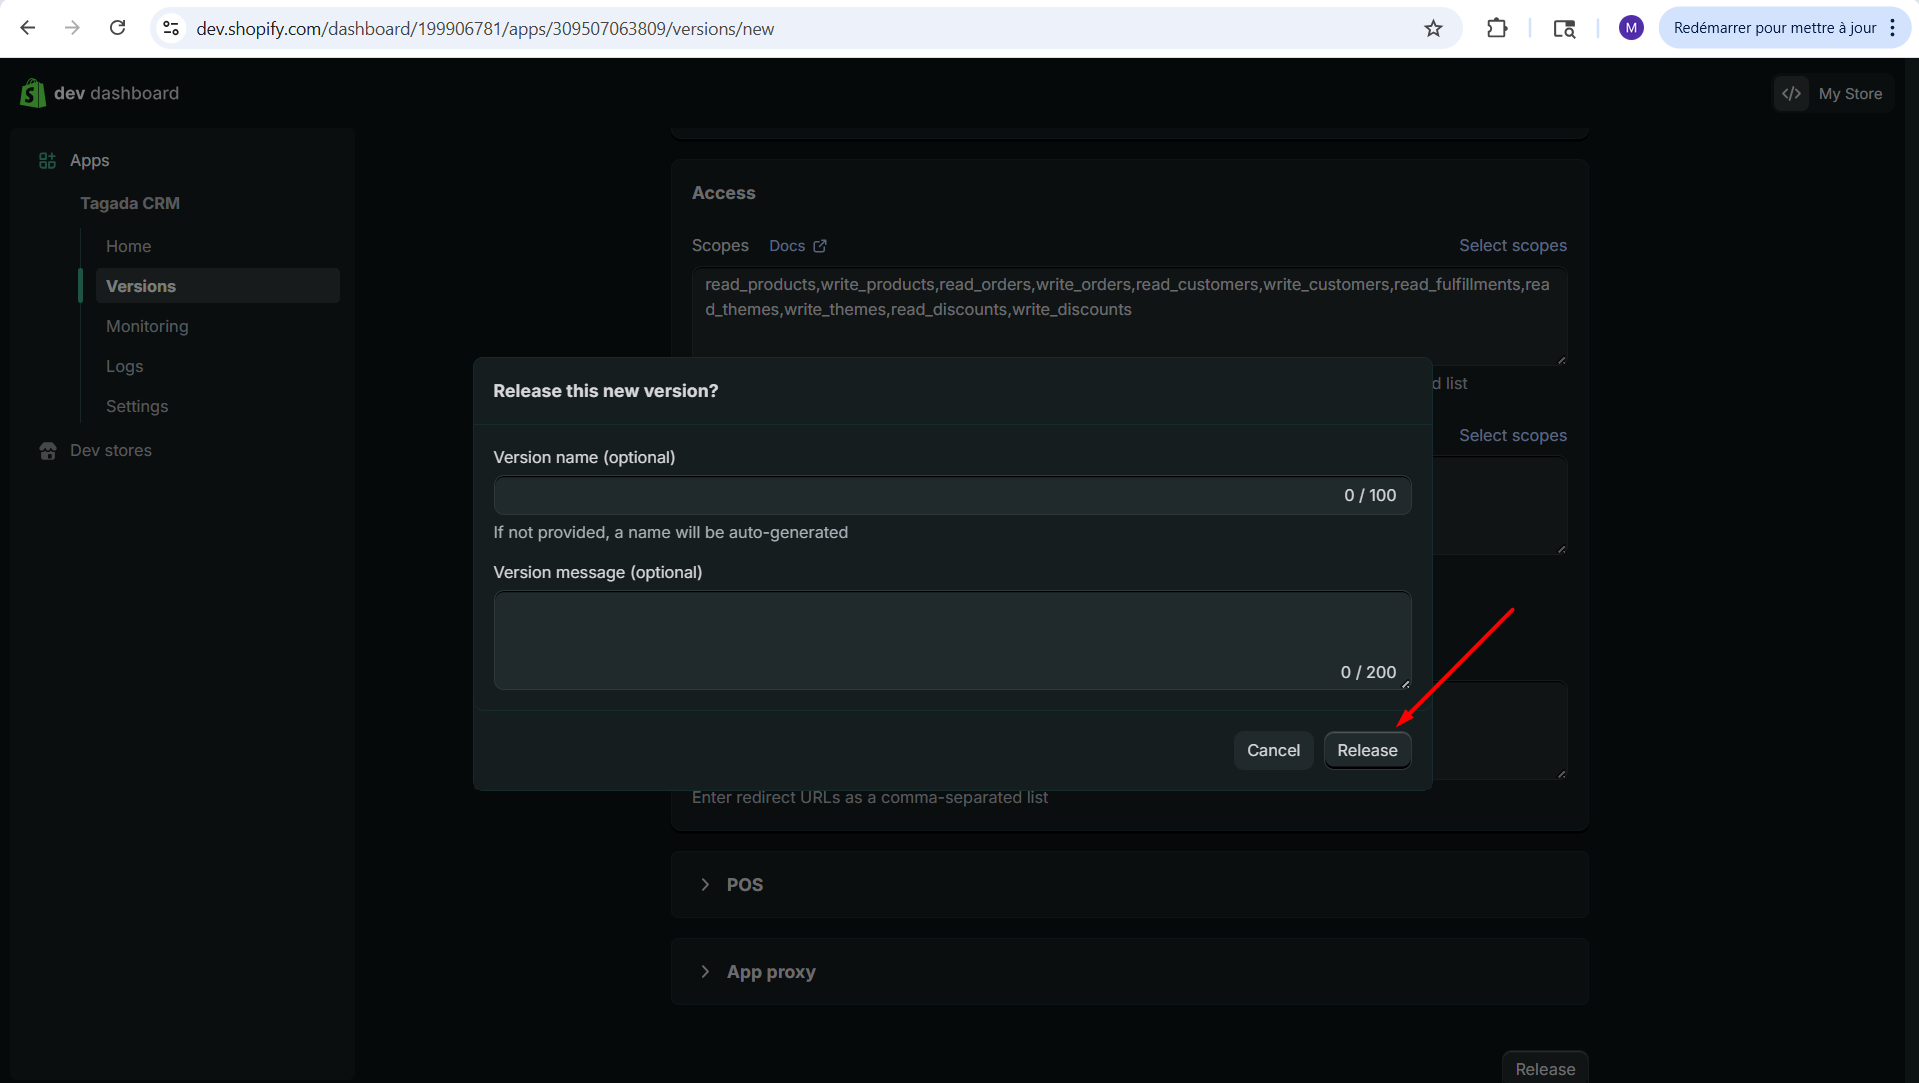
Click on Release again, without entering any info in the pop up window.
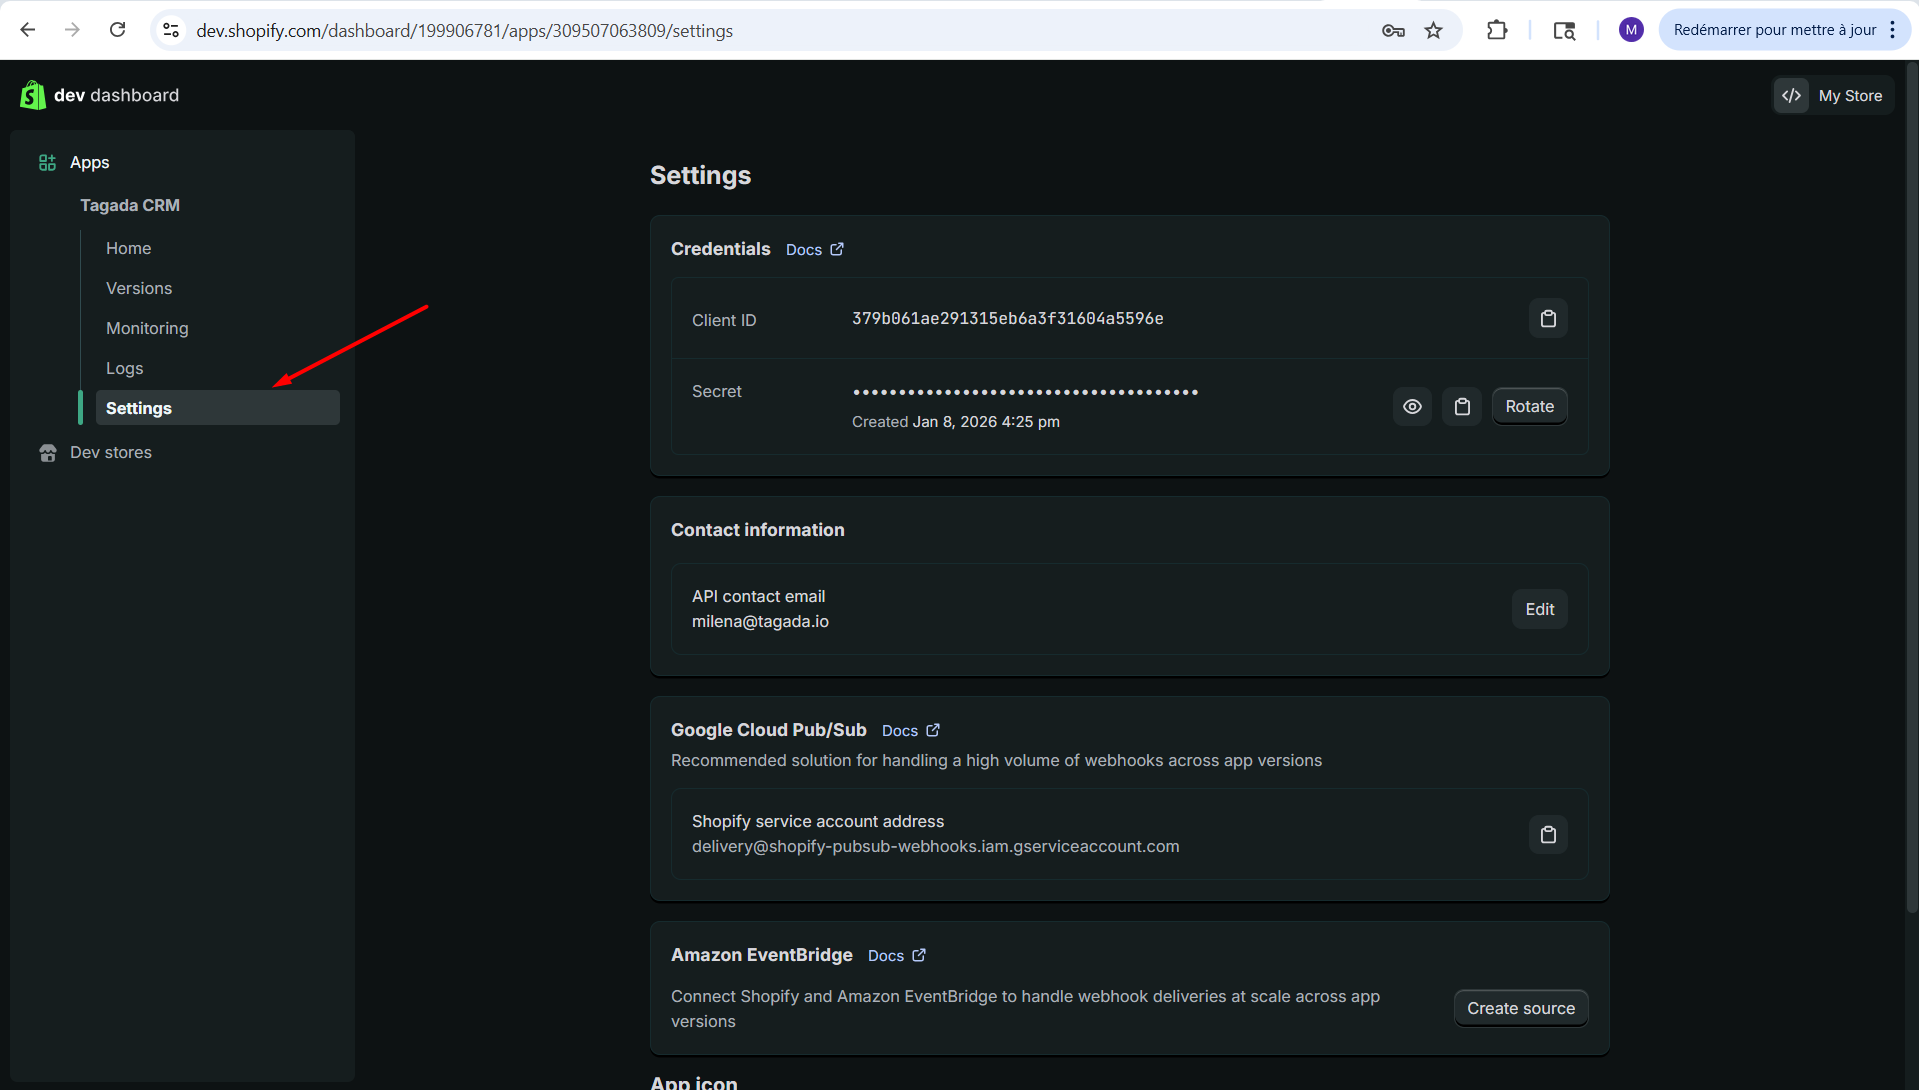
Click on Settings.
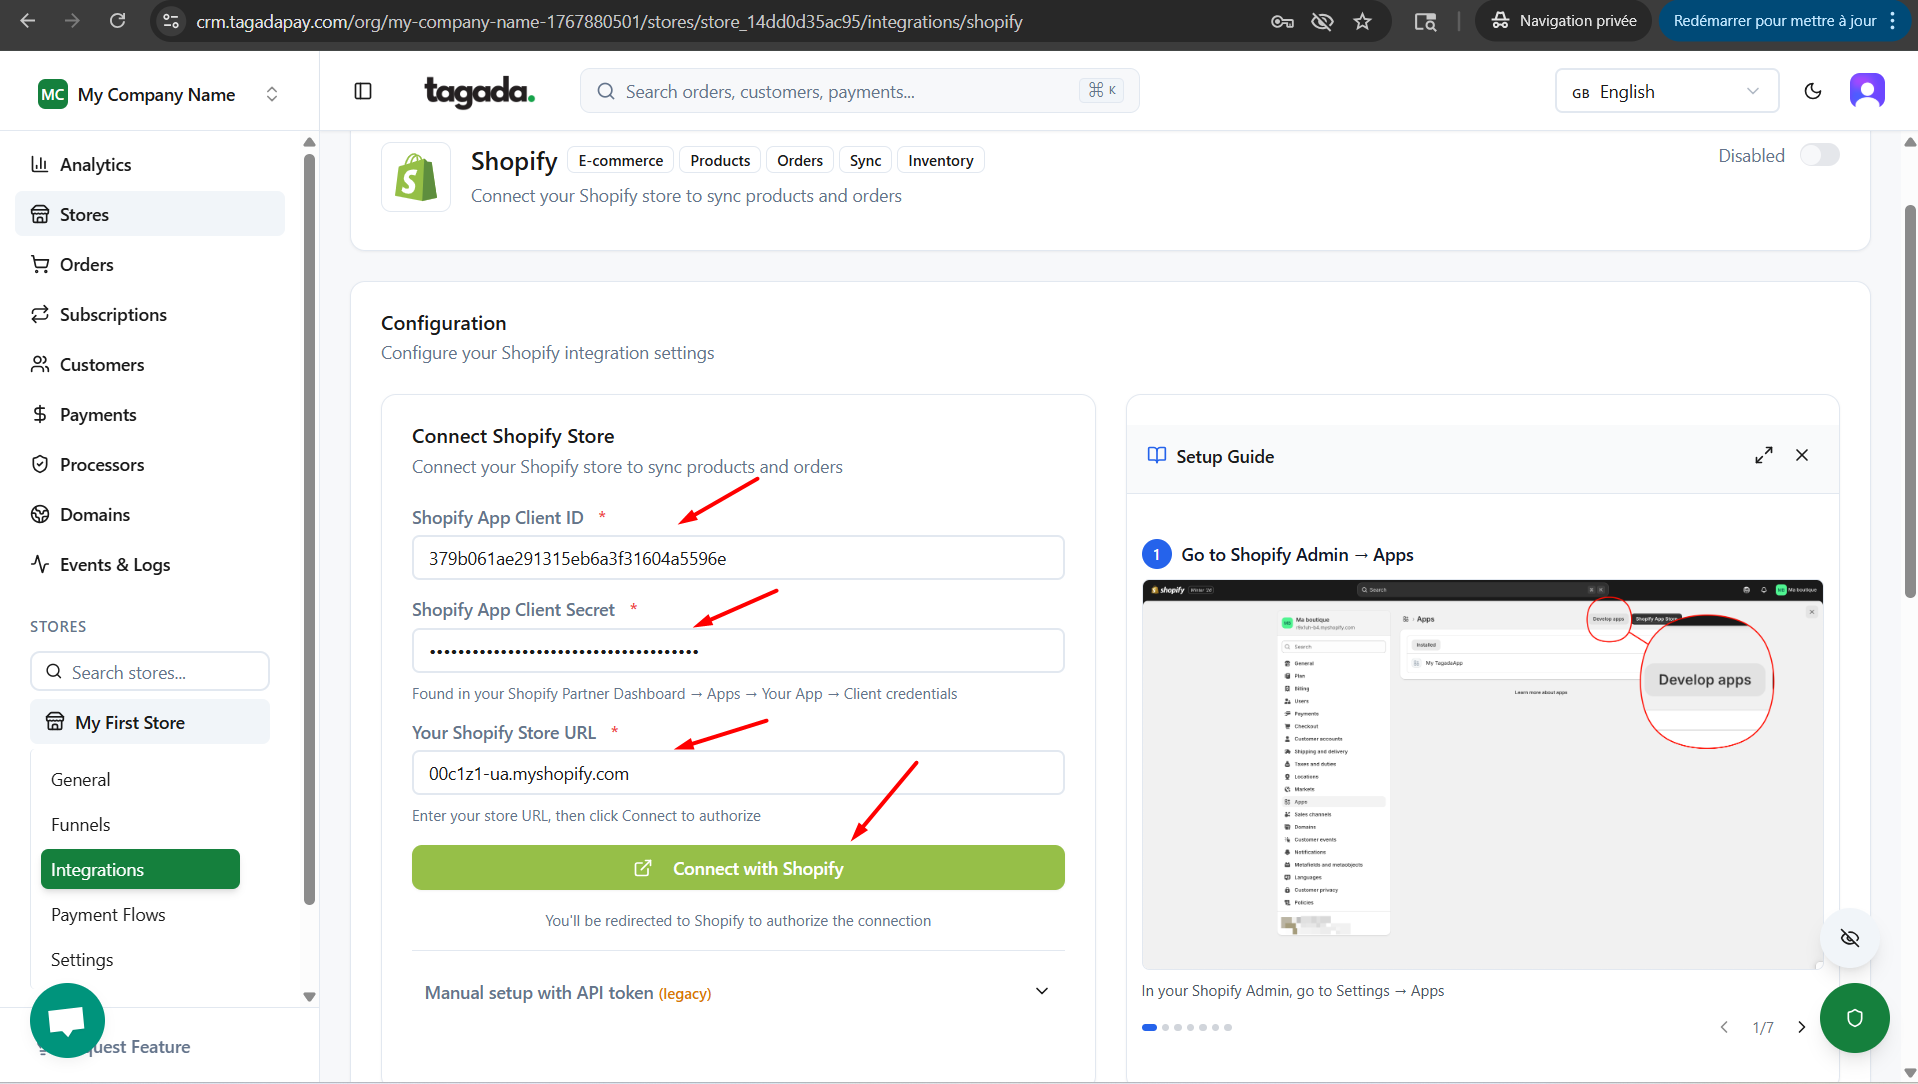
Copy the Client ID and Secret.
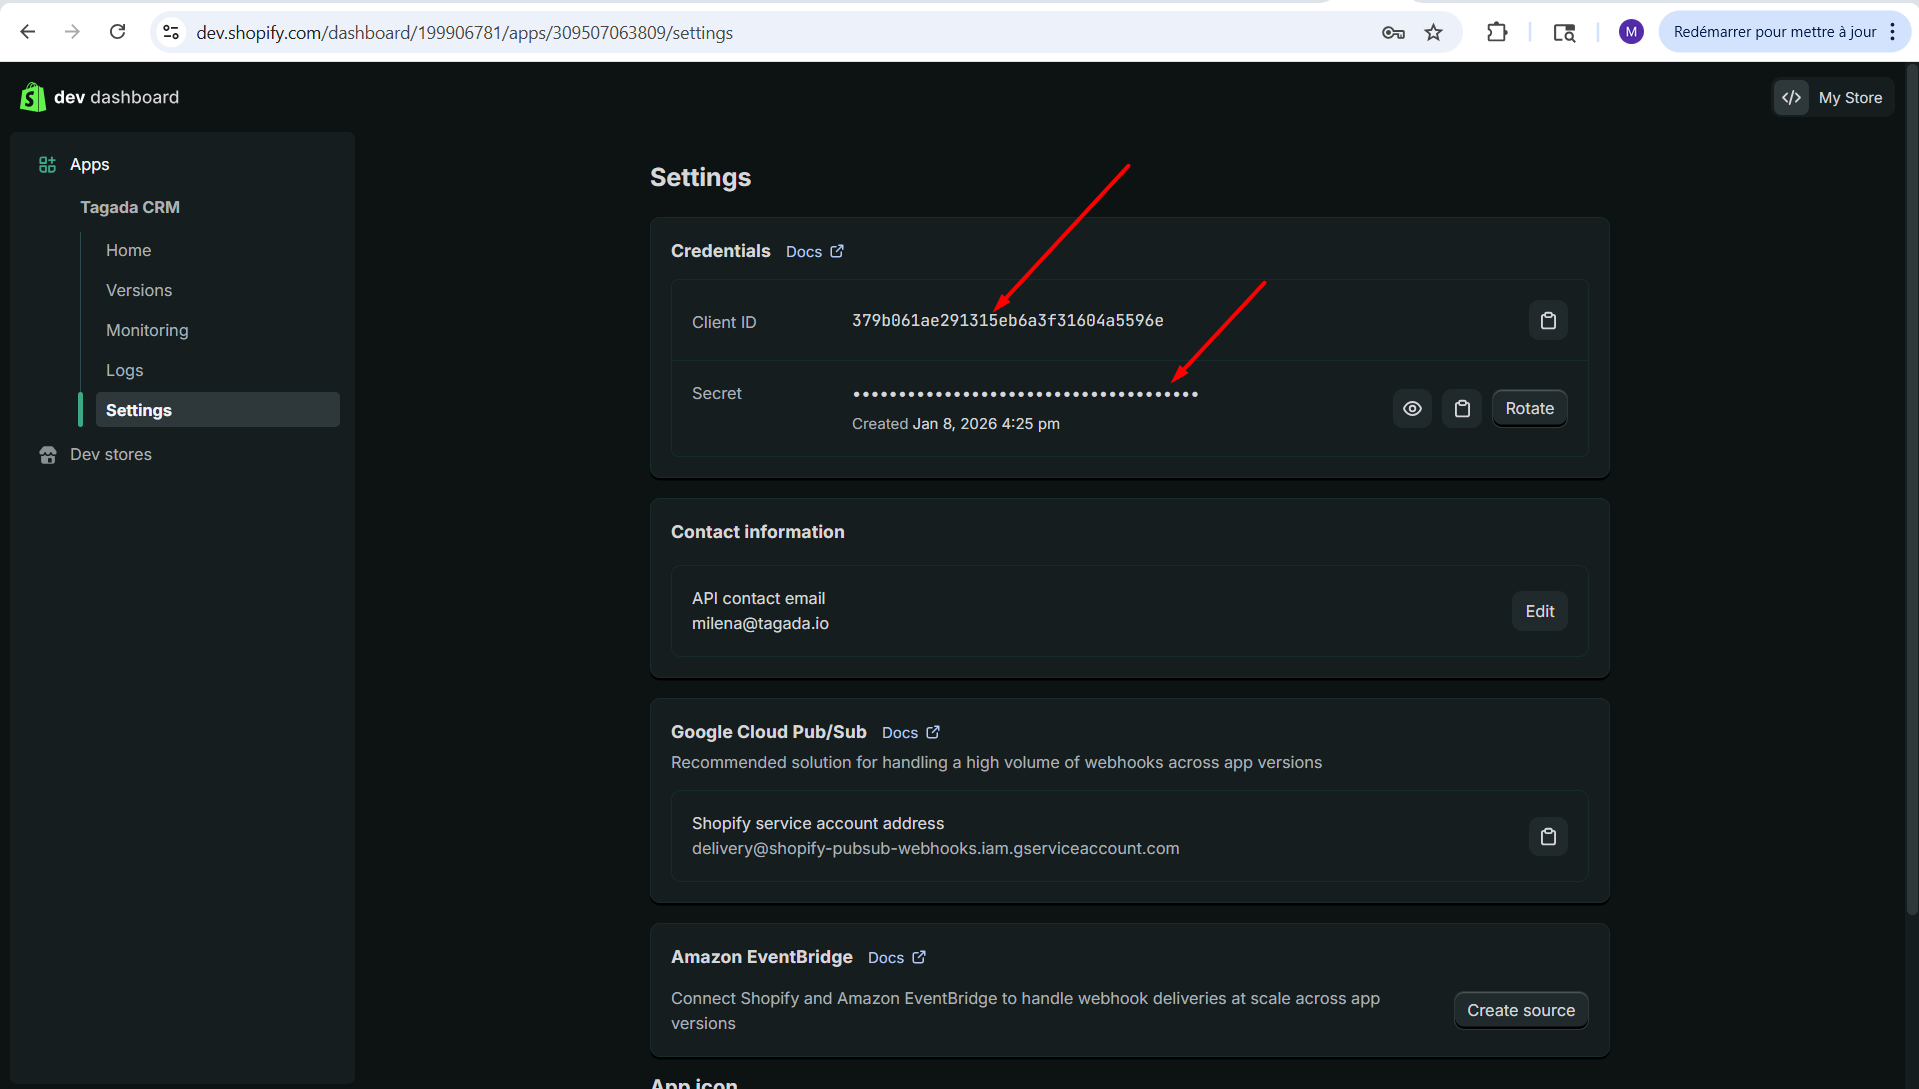
Paste it on Tagada. Enter your Shopify Store URL by strictly respecting the format mystore.myshopify.com. Click on Connect to Shopify.
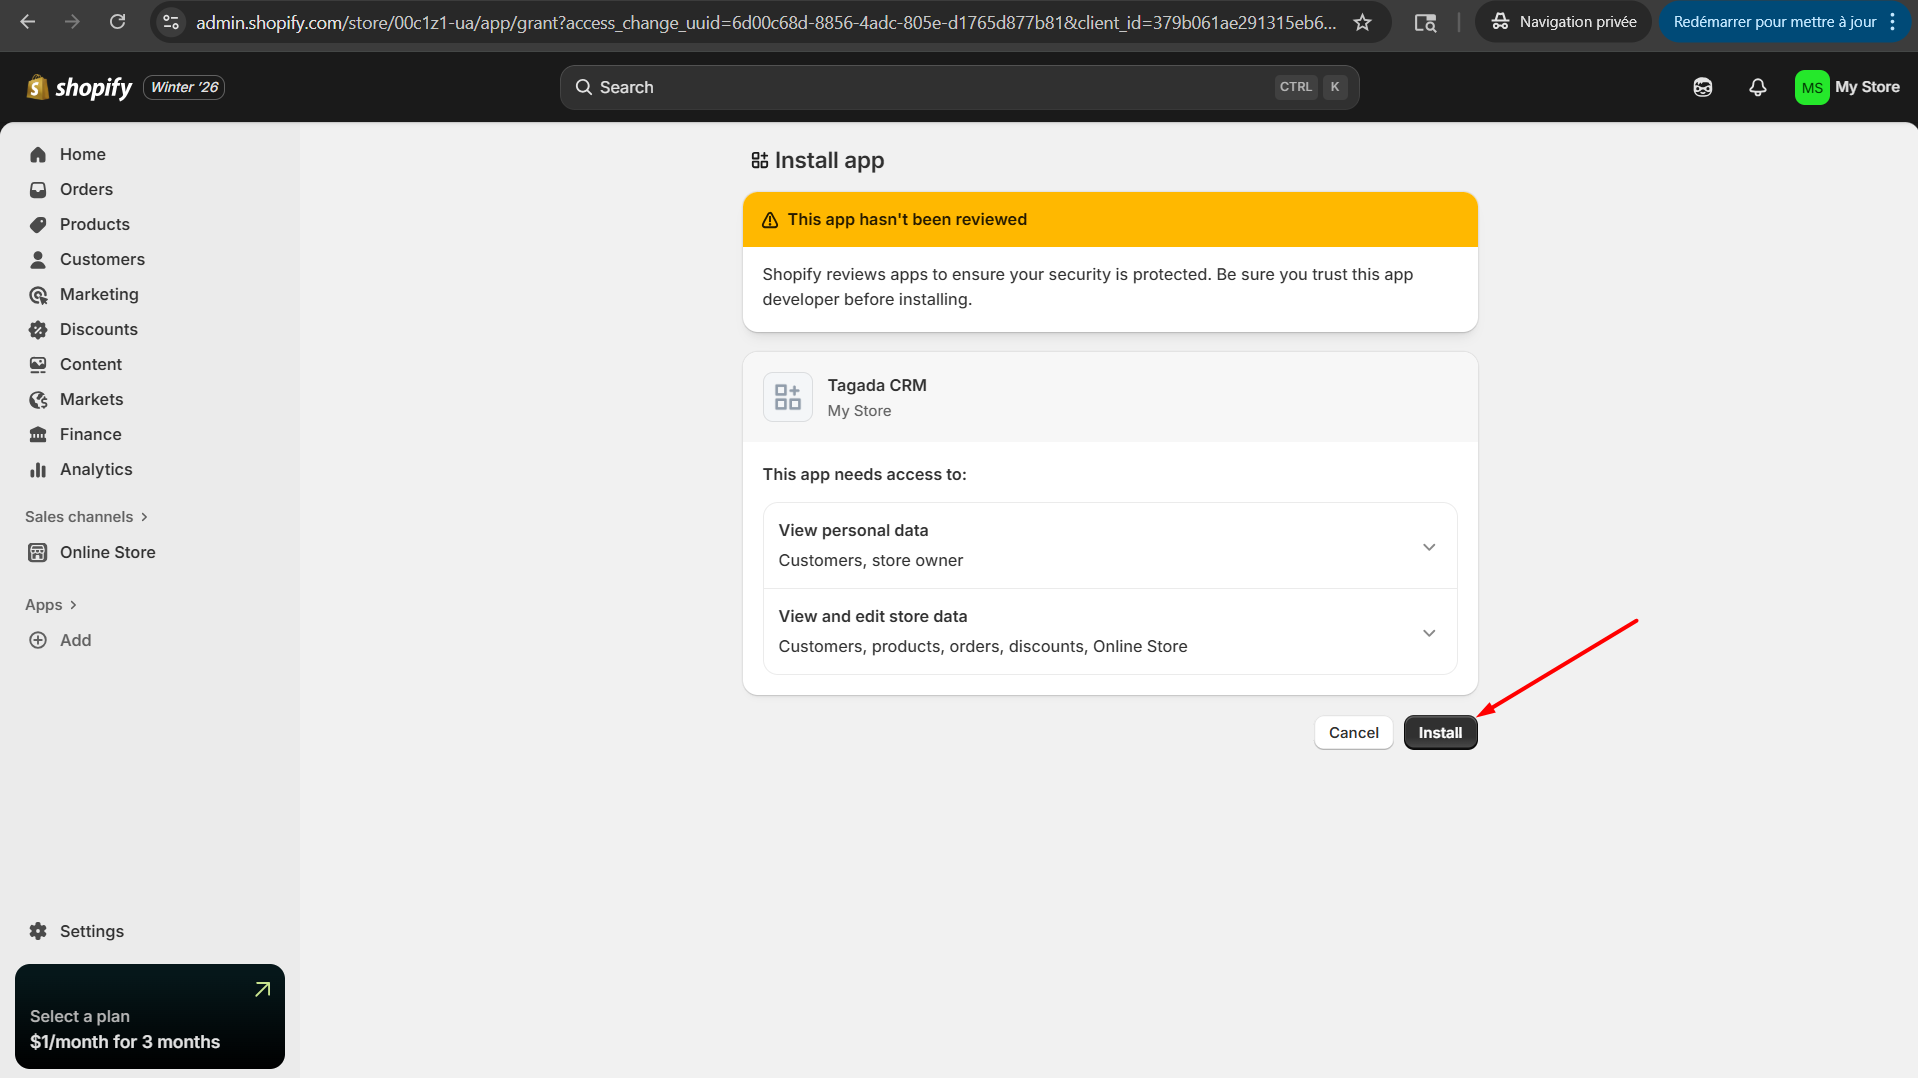
This will redirect you to your Shopify Store. Click on the Install button.
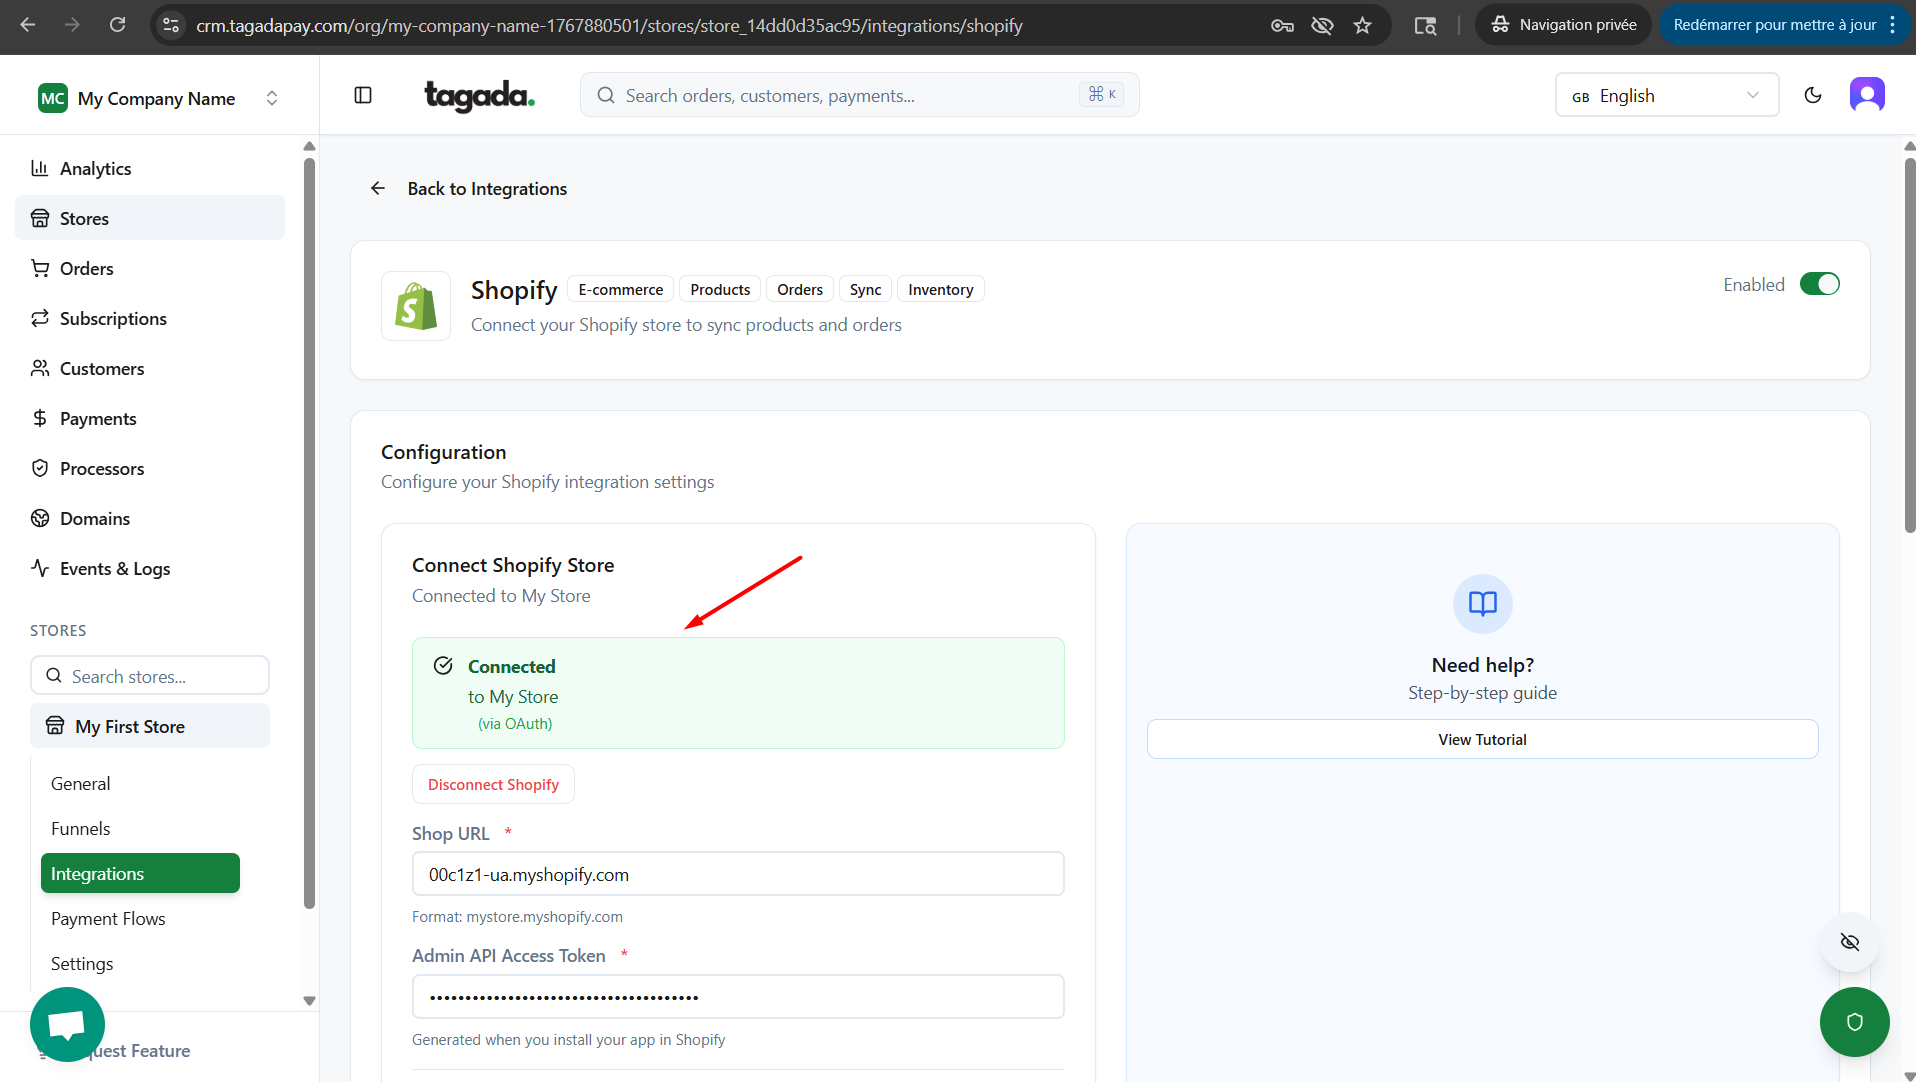
The green box will appear confirming your Shopify store is now connected.
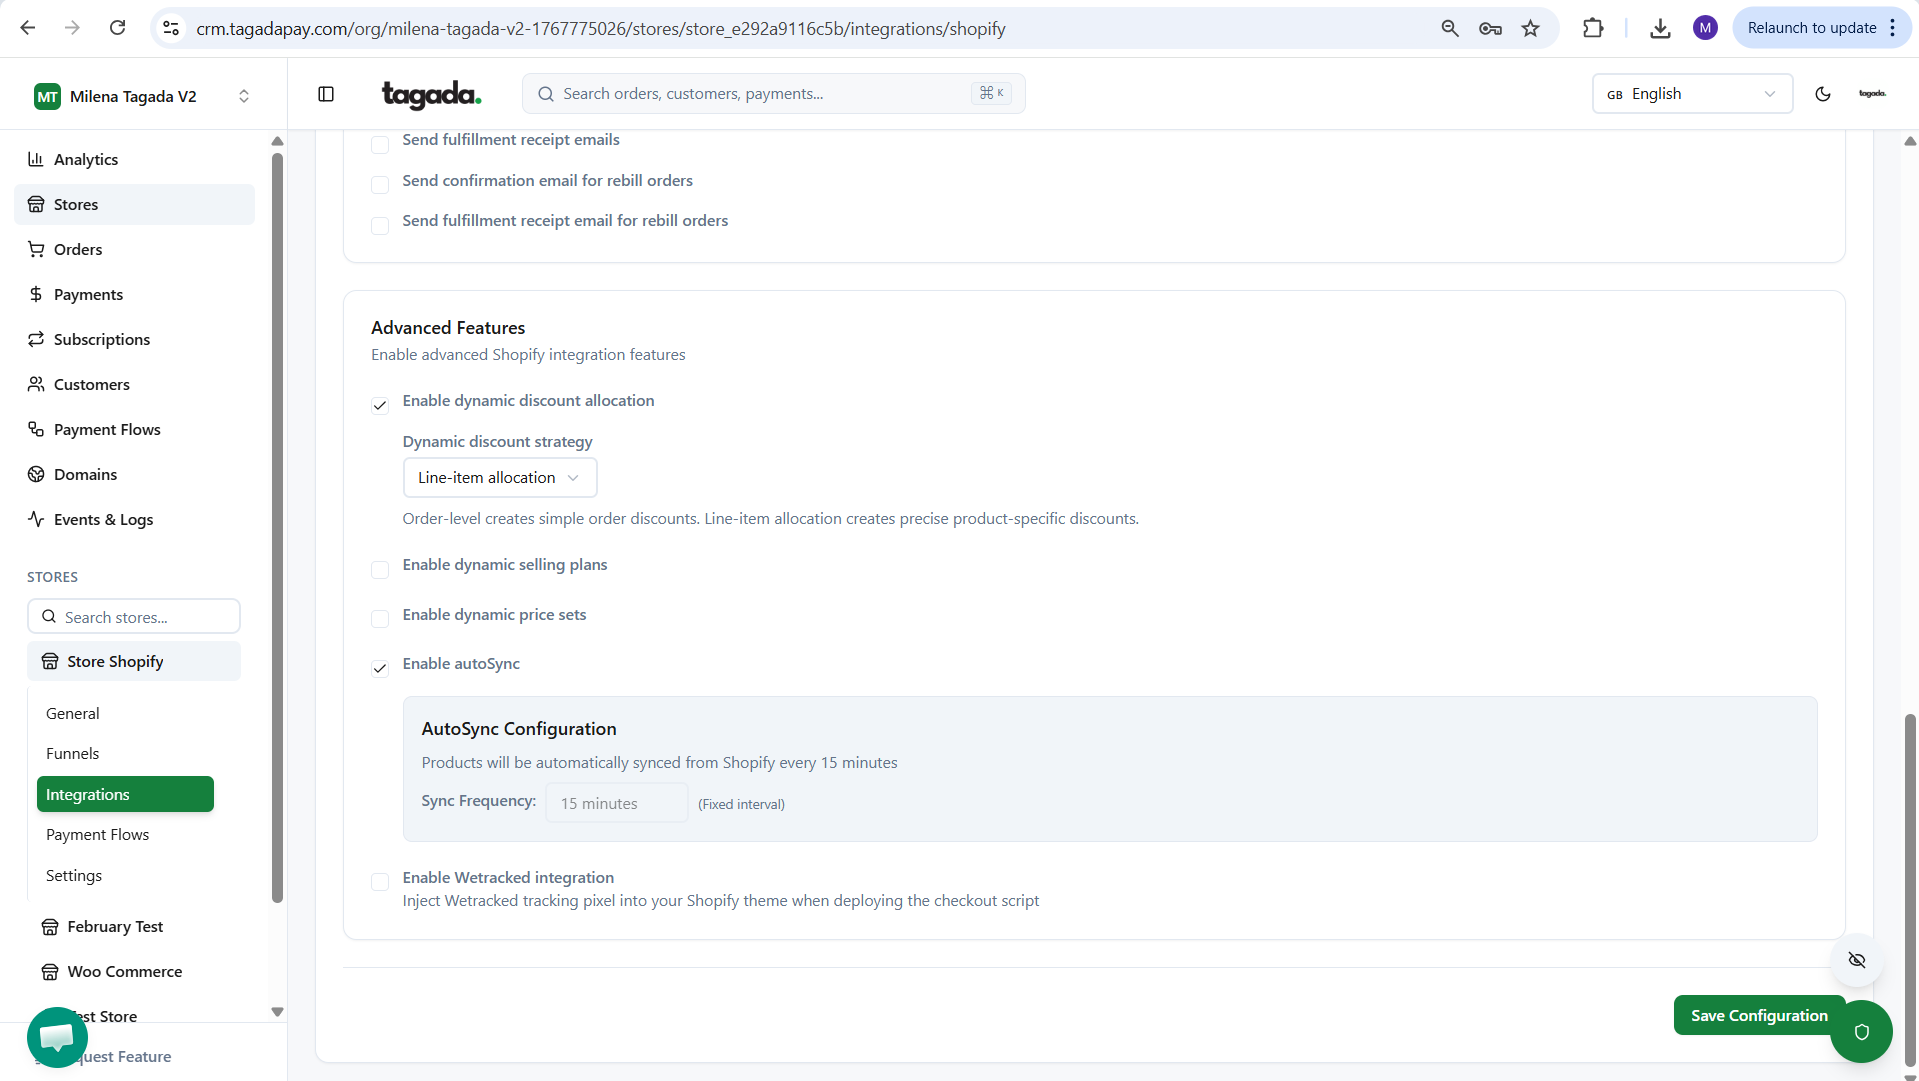
Do not forget to enable the settings needed for your store and click on Save Configuration.
Note: We recommend you to at least enable the option autoSync.
Note: If you are running bundle offers, we recommend you to enable the option Dynamic discount allocation > Line item allocation.
In the next chapter we will guide you through the process of Syncing your products from Shopify.
If you need to connect a WooCommerce store, please follow this guide.
